


13 Ways to Add Instant Architecture With Trims and Mouldings
Elegant architecture in a plain Jane room is only a few strips of timber and some panel pins away
Suzanne Barker
22 August 2016
Houzz New Zealand Contributor. Interior designer. I share my property development and home design lessons learned, to help you make better design decisions as a DIY decorator. Access to my free library of resources, or sign up for my free course http://www.inhowzer.com
Houzz New Zealand Contributor. Interior designer. I share my property development... More
Modern homes have much appeal – they’re warm, dry, have sensible layouts – but they can also lack the character and details that we love in vintage houses. Decorative moulding and wooden trims are great tools for transforming your home, adding architecture, detail and character often dropped from new builds. Best of all, they can be installed after you have moved into your new home – all it takes is a good straight eye, wood glue and nails. Here are some clever ways to use trim in your home.
Divide and conquer
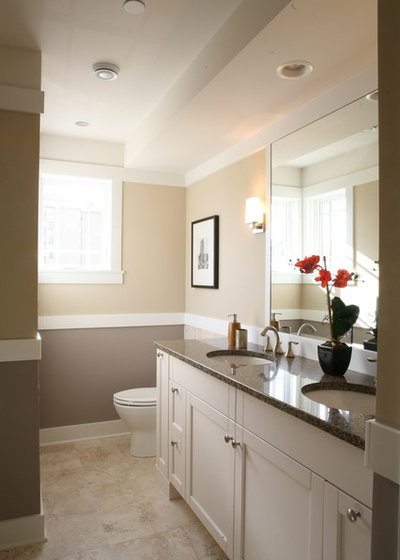
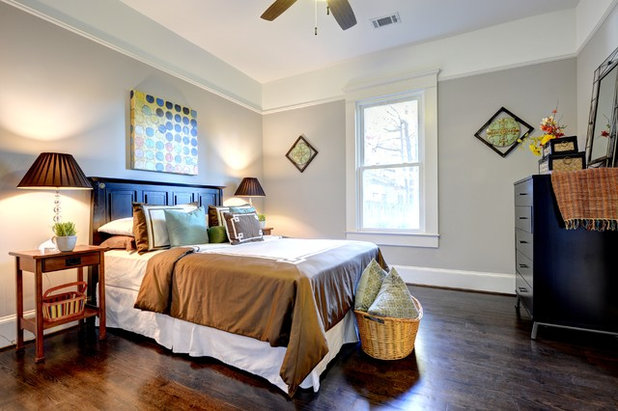
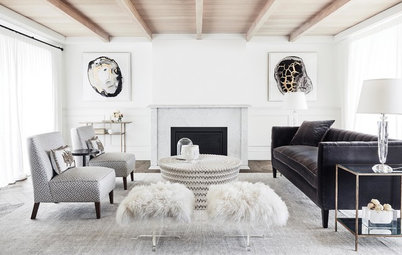
American architect and writer Sarah Susanka’s Not So Big movement reminds us that smaller houses with lovely details are often a better use of building budgets than large and characterless ones. Here in the Libertyville, Illinois, house she designed to showcase her Not So Big design principles, she shows how even a strip of plain moulding adds depth to the plainest of rooms, using simple trim to divide the wall. Paint the trim the same colour as the ceiling and paint the lower half of the wall a darker shade to anchor the room. The optimal height to hang trim like this is about 80 centimetres from the floor.
American architect and writer Sarah Susanka’s Not So Big movement reminds us that smaller houses with lovely details are often a better use of building budgets than large and characterless ones. Here in the Libertyville, Illinois, house she designed to showcase her Not So Big design principles, she shows how even a strip of plain moulding adds depth to the plainest of rooms, using simple trim to divide the wall. Paint the trim the same colour as the ceiling and paint the lower half of the wall a darker shade to anchor the room. The optimal height to hang trim like this is about 80 centimetres from the floor.
Add a chair rail
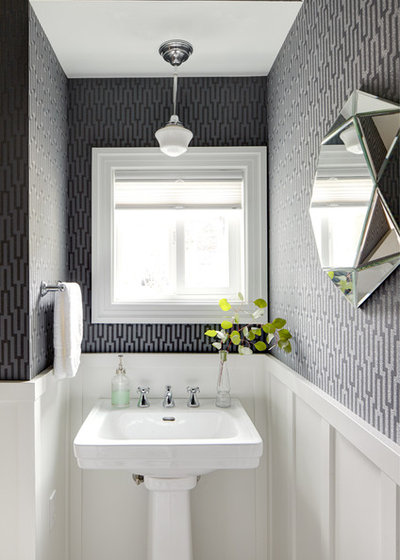
I have a serious case of style envy for this bathroom, but it uses a surprisingly simple technique. Affix flat panels of wood vertically and horizontally to the bottom half of your bathroom walls, and paint the panels and wall white to create the look of an Arts and Crafts house. Experiment with the timber widths (from chunky to fine) and balance the size of the panels so that they are evenly spaced across the length of the room. Add a dramatic wallpaper to the top half and you have yourself a spectacular bathroom you can be proud of.
More on interior trims and mouldings
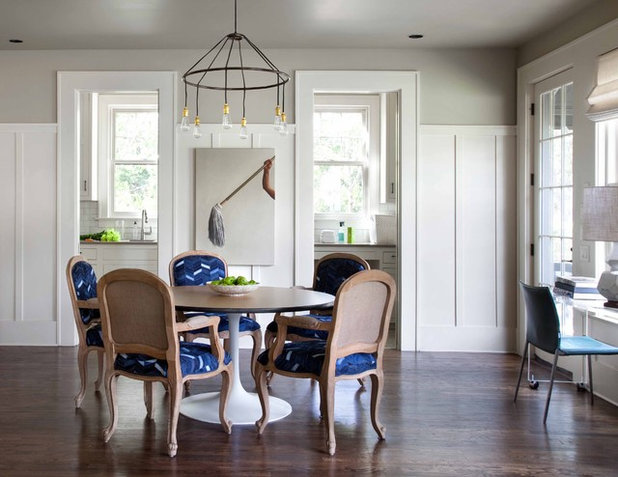
Plate rail panache
Wall panels like this, running up to the height of a plate rail, give a more relaxed bungalow-style charm to hallways, sitting or dining rooms. To create a cohesive look, bring the ceiling paint colour down to the upper portion of the wall.
Wall panels like this, running up to the height of a plate rail, give a more relaxed bungalow-style charm to hallways, sitting or dining rooms. To create a cohesive look, bring the ceiling paint colour down to the upper portion of the wall.
Panel perfect
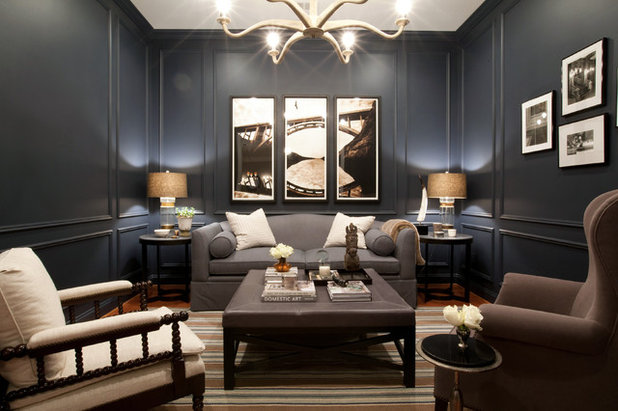
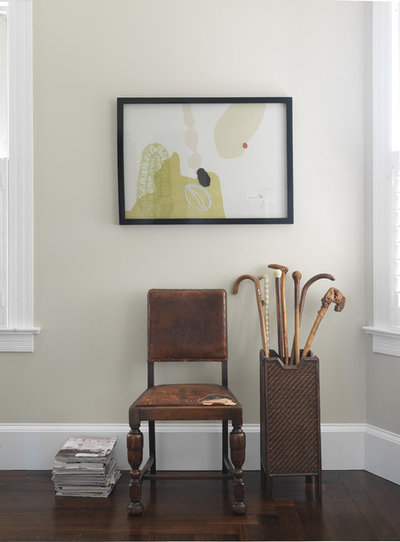
Take the divide and conquer principle a step further, and use narrow strips of picture moulding to create divided panels. This adds depth and interesting proportions to a room. You will need to experiment with the best sized sections to divide your walls. Use a level, plumbline and masking tape to mark the walls – and live with it for a few days to be sure it works with your furniture and art placement. Reserve the largest panels for your artwork. Pay particular attention to maintaining uniform spacing between frames so it is pleasing on the eye.
Take the divide and conquer principle a step further, and use narrow strips of picture moulding to create divided panels. This adds depth and interesting proportions to a room. You will need to experiment with the best sized sections to divide your walls. Use a level, plumbline and masking tape to mark the walls – and live with it for a few days to be sure it works with your furniture and art placement. Reserve the largest panels for your artwork. Pay particular attention to maintaining uniform spacing between frames so it is pleasing on the eye.
Coordinated attack
When you are adding mouldings to your window and door frames, skirting board and ceiling cornices (sometimes called crown moulding), be sure that the styles and profiles work together. They should also be in proportion with each other, so again, experiment with sample pieces from your timber merchant until you are happy with the balance. Aim to choose a crown moulding that is slightly narrower than the skirting board.
When you are adding mouldings to your window and door frames, skirting board and ceiling cornices (sometimes called crown moulding), be sure that the styles and profiles work together. They should also be in proportion with each other, so again, experiment with sample pieces from your timber merchant until you are happy with the balance. Aim to choose a crown moulding that is slightly narrower than the skirting board.
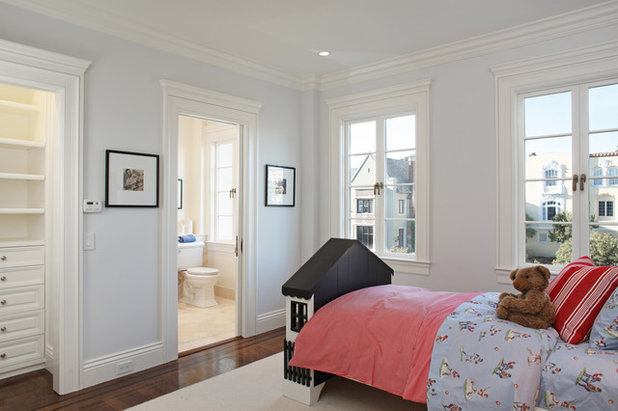
Doorway drama
Installing wide architraves around a door opening between main rooms gives them real presence and heft. The larger the door opening, the wider the architrave can be.
Installing wide architraves around a door opening between main rooms gives them real presence and heft. The larger the door opening, the wider the architrave can be.
Skirt the issue
Skirting boards have a practical job to do, concealing the gaps between floor and wall finishes and hiding uneven finishes. But they can add huge aesthetic impact too. A skirting board should add depth and continuity to your home, but unfortunately, most new homes these days are built with narrow, underwhelming trims. A wide skirting board immediately ramps up the quality factor in a room. MDF skirting is a popular and affordable option if you plan to paint your skirting board.
Browse more traditional hallways
For a traditional look, a good rule of thumb to use is that a skirting board height should be approximately 7 percent of your ceiling height. So, if your ceiling is a standard 2.4 metres high, consider an 18-centimetre-high skirting board.
Impact on entry
If you have a standalone wall in your home, treat it a bit differently from the other walls with some horizontal tongue-and-groove timber boards. Install the boards horizontally, vertically or even diagonally.
PRO TIP: for a sleek look, paint timber or grooved plywood, stain or oil wood, or use recycled boards for added texture and warmth.
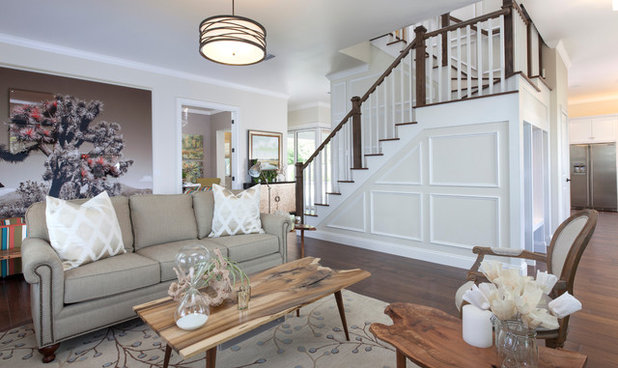
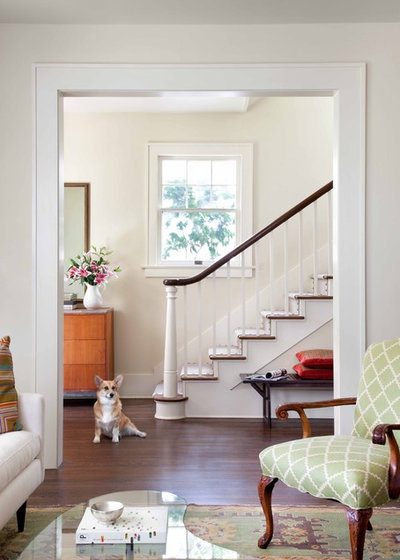
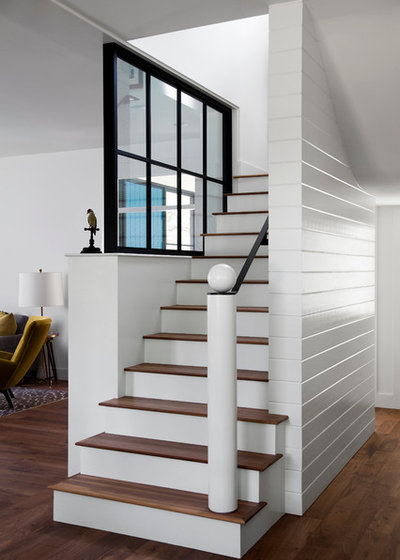
Detail a staircase
Transform a boring staircase in an open-plan room into one that demands attention. The trim in this living room by NWC Construction uses contrasting white trim paint colours on a series of boxed panels to stand out.
Transform a boring staircase in an open-plan room into one that demands attention. The trim in this living room by NWC Construction uses contrasting white trim paint colours on a series of boxed panels to stand out.
Multiple colours multiplies impact
To add even more depth and sense of architecture, accentuate the detailing on trims and panels by using three paint tones. Add more than one set of trim to create detailing, and pay meticulous attention to the quality of the finish, as this becomes a focal point in the room.
To add even more depth and sense of architecture, accentuate the detailing on trims and panels by using three paint tones. Add more than one set of trim to create detailing, and pay meticulous attention to the quality of the finish, as this becomes a focal point in the room.
Ceiling high
A great way to make your ceiling look higher is to bring the ceiling colour down onto the walls. Create a break between the wall and ceiling colour with a line of decorative moulding. This clever optical illusion gives the impression of a beefed up cornice to create the appearance of a much higher ceiling.
A great way to make your ceiling look higher is to bring the ceiling colour down onto the walls. Create a break between the wall and ceiling colour with a line of decorative moulding. This clever optical illusion gives the impression of a beefed up cornice to create the appearance of a much higher ceiling.
To bring historic character into a renovation, add beading to the ceiling. Again, pay attention to the proportions of the panels to make sure that the pattern created is a pleasing grid. Check original bungalows and villas and copy their time-tested patterns.
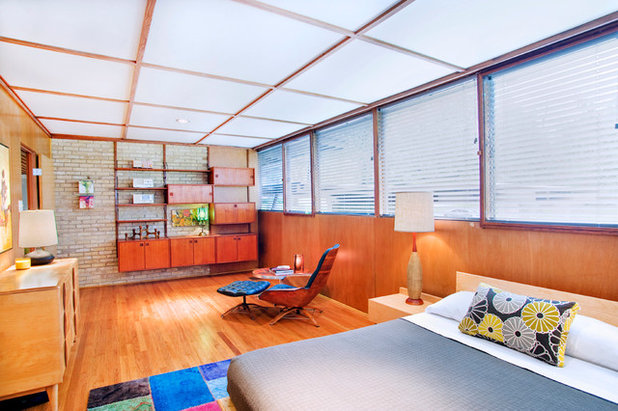
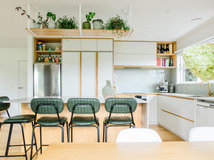
Even a modern room can benefit from well-considered trims. Here slim timber slats, placed to match the window joinery, add a serene Asian-style vibe to a plain room.
So your style is: Asian
So your style is: Asian
Draw your eye upwards by adding tongue-and-groove timber boards – or the cheaper grooved plywood alternative – to the ceiling.
A finish like this gives a casual, almost beachy feel to a room, and will look right at home in a space with indoor-outdoor flow.
PRO TIP: use a semi- or high-gloss paint to heighten and brighten the entire room.
A finish like this gives a casual, almost beachy feel to a room, and will look right at home in a space with indoor-outdoor flow.
PRO TIP: use a semi- or high-gloss paint to heighten and brighten the entire room.
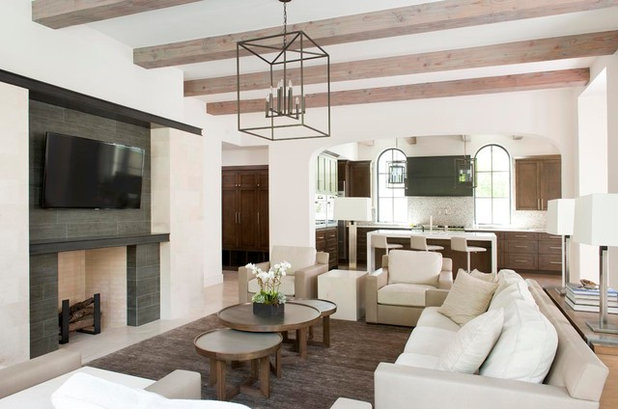
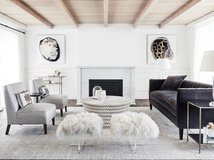
Beam me up
Create a beautiful contrast with a hint of old barn or Mediterranean history in a clean and sleek interior with the warmth of faux wooden beams. Faux beams look like the real thing, but are hollow inside and lightweight enough to install yourself.
Create a beautiful contrast with a hint of old barn or Mediterranean history in a clean and sleek interior with the warmth of faux wooden beams. Faux beams look like the real thing, but are hollow inside and lightweight enough to install yourself.
Follow the angle
Accentuate a vaulted ceiling by adding a simple half-round moulding where walls and ceiling meet. This small but effective detailing adds elegance and a sense of quality to the space.
TELL US
Where could you add trim and moulding to your home? Please share your thoughts in the Comments section.
MORE
Browse more stories about architecture
What are you working on?
Related Stories
Interior Design
The Golden Rules of Proportion: Decor Laws You Need to Know
An interior designer reveals the essential rules for achieving a perfectly balanced interior
Full Story
Most Popular
An Interior Designer's Guide to Arranging Cushions
By Anne Ellard
Get to grips with your ever-growing pile of cushions with these professional tips for choosing and arranging cushions in your home
Full Story
Decorating
The Power of Negative Space in Interior Design
By Janet Dunn
A design element that's not even there can forever change how you view your home
Full Story
Houzz Tours
Queensland Houzz: A Cute Cottage Awash With Colour and Pattern
Bold colour, quirky prints and an abundance of art transformed this 1920s cottage into an inviting and relaxing gem
Full Story
Project Of The Week
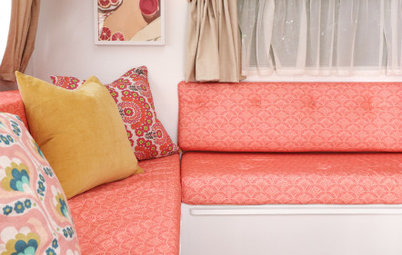
Before & After: A Cheap & Cheerful Makeover of a 1980s Caravan
Armed with an AU$1500 budget, a Melbourne couple rolled up their sleeves and transformed a caravan in just three months
Full Story
Most Popular
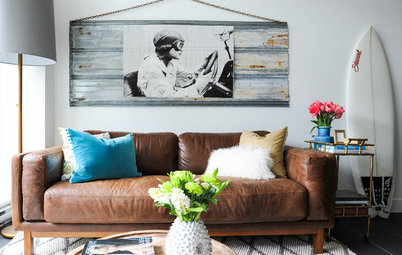
Ask the Experts: What Goes With Tan Leather?
Embrace this versatile material, colour and texture with inspirational ideas from designers in the know
Full Story
Most Popular
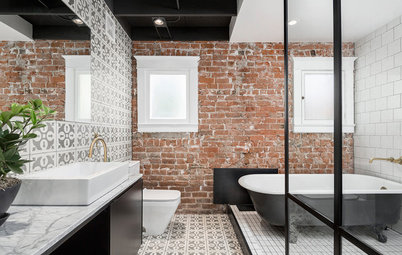
Masonry Magic: 15 Ways to Trick Out Your Exposed Brick Wall
Do you find exposed brick walls cold? Add contemporary warmth and interest with these 15 transformative ideas
Full Story
Projects Born on Houzz
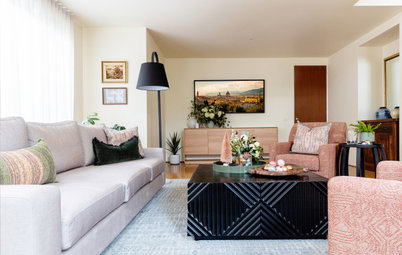
Before & After: From Dump Zone to New 'Welcome Home' Living Area
Home office, yoga zone, dumping ground... this front room was having a serious identity crisis – but look at it now!
Full Story
Picture Perfect
30 Christmas Schemes to Inspire and Delight
Our coffee-break escape offers you five minutes' worth of images to inspire and delight. Jump right in...
Full Story
Most Popular
16 Clever Ways to Create Zones in Open-Plan Spaces
Create distinct areas in large, open rooms with these creative design ideas – no walls or other fixed vertical structures required!
Full Story
Having re-aligned the old Modernist mantra from "Form Follows Function" to my new ideology 'Form Follows Feeling' I can now add cornices, skirting boards, mouldings, architraves, picture rails and wainscoting to embellish my designs without being emotionally torn.
We rented a few places with picture rails. They were excellent, we have a lot of art and they greatly reduced the amount of picture holes we had to fill on leaving.