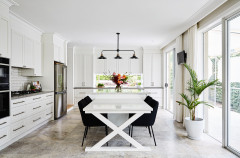
6 Ways to Whip Your Baking Centre Into Shape
Corral your supplies and ingredients to make creating treats a sweeter experience

Do you love baking but find that the thought of getting all the supplies out – and fitting everything back into your cupboards afterward – is enough to send you on a trip to buy your cupcakes and macarons instead? If so, it’s time to organise and pare down your supplies. That way, when your next baking inspiration hits, you’ll know where everything is.

Need a pro for your custom cabinets project?
Let Houzz find the best pros for you
Let Houzz find the best pros for you
2. Toss expired and ineffective ingredients
It’s easy to overlook expiration dates when there are no visual or olfactory clues of decay. There’s no question when milk has spoiled, but what about flour or baking soda, vanilla or sprinkles?
There’s still some confusion surrounding food labelling, and expiration dates such as ‘use by’ and ‘best before’ are no exception.
But what does that really mean for your everyday life? Personally, I would be embarrassed to take a cake to a dinner party made with safe but stale ingredients. Therefore, for my own pantry, these categories make sense to me:
Need a professional organiser or storage designer to redo your kitchen? Find a professional near you on Houzz and read reviews from previous clients
- Ingredient will spoil or lose its effectiveness and should not be kept past its expiration date or long after its ‘best by’ date (milk, nuts, yeast, butter).
- Ingredient can be kept past expiration date with monitoring. Potency will decrease with time or ingredient may eventually become rancid or stale (baking soda, baking powder, imitation extracts, flour).
- Ingredient can be kept indefinitely with proper storage (sugar, pure vanilla, honey, salt).
Need a professional organiser or storage designer to redo your kitchen? Find a professional near you on Houzz and read reviews from previous clients
When reviewing your ingredients, also consider which items, realistically, you will not use again. Perhaps you had a unique baking project and are left with supplies that wouldn’t be sufficient for another batch or no longer make sense, such as icing decorations for a baby shower.
Let them go, as this will free up valuable space to keep your often-used items organised and easily accessible.
Let them go, as this will free up valuable space to keep your often-used items organised and easily accessible.
3. Sort and edit accessories
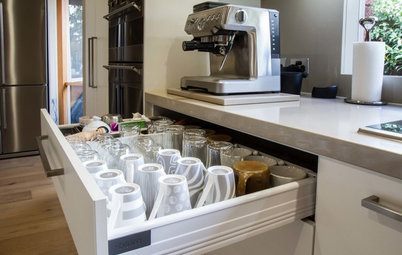
Next, find a large space to spread out, gather all your baking accessories together and sort them into categories. These categories might include measuring items, mixing bowls, baking trays, cake tins, decorating tools and appliances.
Once all the items have been sorted, sift through each category, removing unused items and duplicates. Complete one category before advancing to another.
Consider your current lifestyle. If you no longer need to bake five-dozen cupcakes for your child’s birthday parties, you might be able to reduce the number of cupcake tins you own or give up your cupcake carrier. If you have a bullet blender, a nut chopper may be redundant.
However, the one supply category I would advocate keeping duplicates of is measuring cups and spoons. If you have a dedicated baking cart, it might be more convenient to keep an extra set with the rest of the baking supplies.
However, the one supply category I would advocate keeping duplicates of is measuring cups and spoons. If you have a dedicated baking cart, it might be more convenient to keep an extra set with the rest of the baking supplies.
Need a pro for your kitchen renovating project?
Let Houzz find the best pros for you
Let Houzz find the best pros for you
4. Invest in airtight storage containers
To maximise the freshness of your ingredients, minimise air contact. Investing in airtight containers can save you money in the long run by extending the shelf life of your ingredients.
Choose containers that stack and line up well together, keeping in mind that square or rectangular ones may create more useable space than round ones. Select containers large enough to hold the typical amount of ingredient you purchase, so you don’t always have half a bag of something sitting around.
I recommend grouping small and random items – cookie cutters, bottles of food colouring, small appliance parts – into containers to keep them organised. Clear containers or clearly labeled opaque ones will make organising and finding items easier. Before you buy, be sure to measure your cupboard space or drawer height to ensure the containers will fit well.
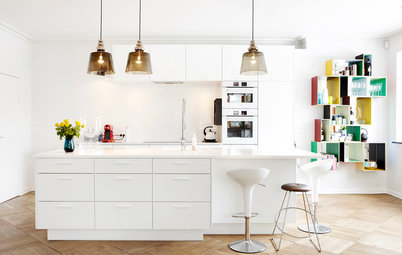
Love the detailing in this kitchen? Browse more beautifully designed Australian kitchens
Love the detailing in this kitchen? Browse more beautifully designed Australian kitchens
5. Reduce recipe clutter
I used to have a seven-centimetre-thick binder crammed with recipes. But I only ever used about 12 of them. Most of the others I either tried once and never used again, because they were too complicated or didn’t taste good, or I hadn’t yet got around to them. I found myself turning more to the internet for recipes, so I got rid of the paper copies and began saving my favourite recipes digitally, including scanned versions of my favourites from the binder.
Digital recipes work best for me, but if they don’t for you and you prefer hard-copy recipes, then recycle all your unused recipes and preserve your remaining ones with sheet protectors.
6. Organise your supplies
After you’ve pared down your ingredients and supplies, you can organise your space. Keep your most-used items in the front for easy access. If space allows, storing your bakeware vertically, using something similar to a pot lid organiser, will provide you with a clear view and easy retrieval.
Otherwise, nest your bakeware. Seasonal baking items can take a backseat if they’re used only once a year. Organise according to how often you use your items so your baking spot works best for you.
Your turn
How have you organised your baking equipment? Spill your tips in the Comments below. And if you found this story helpful, like is, save the images for inspiration and join the conversation.
More
Keen to call in the professionals to help you whip your kitchen storage into shape? Read this first: What’s it Really Like to Work With a Professional Home Organiser?


Sponsored
Sponsored
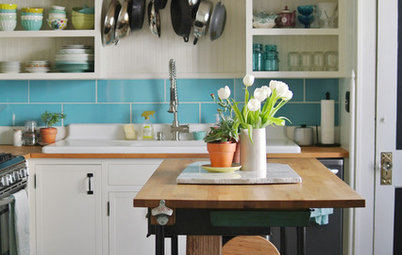
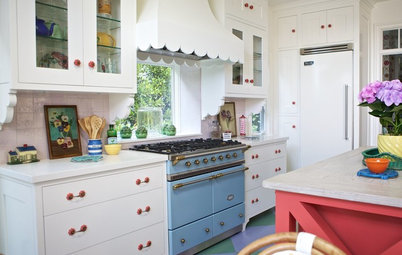
Consider keeping all your baking items together. Many ingredients and tools are unique to baking and can be kept separate from other kitchen items. You’ll want to store your ingredients in a dark, cool spot, so keep that in mind as you determine where to place your baking centre.
If space allows, a baking cabinet with a pull-out shelf is one way to keep your stand mixer off your benchtop yet close at hand and easy to use.