Click "Embed" to display an article on your own website or blog.
Choices. Options. Alternatives. These words can cause panic in the hearts and minds of the novice kitchen renovator. Initially, the excitement of choosing new finishes and the latest whiz-bang gadgets motivates the first-timer to embark on a course of designer discovery. But as the samples of stone, tile, laminate and veneer pile up, enthusiasm starts to wane… And with good reason: there are just too many choices, options and alternatives!
Well never fear. To help you on your quest to be a master chef of kitchen design, here are six most important considerations. Who knows, a dream kitchen – well, plan, at least – could be yours by dinnertime.
1. Your style Using a checklist to plan your kitchen will help eliminate confusion in the kitchen renovation maze you are about to enter. First up, set some personal taste limits by loosely choosing a look, such as French country, retro diner, industrial chic, Norwegian wood, rustic café or monochrome cool (or any other name you want to think up for your style), then set up an ideabook on your Houzz profile and fill it with your saved images.
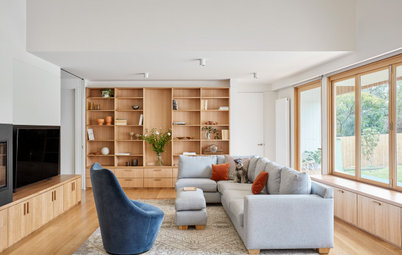
Next, carefully analyse the pictures you collect – for these images will become much handled visual references from which all other ideas will emanate – and group them into smaller ideabooks that show features such as pantry, benchtops, tapware and lighting. And don’t forget that the kitchen’s design should be integral with the design of the house rather than a separate style of its own, so don’t choose black tapware for the kitchen when you have chromed block-shaped taps in the bathroom.
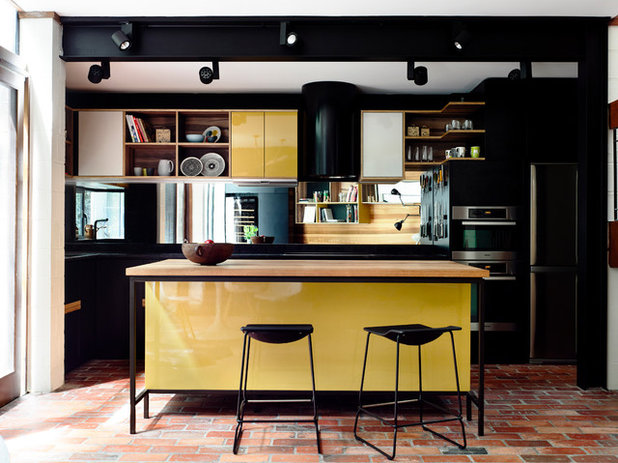
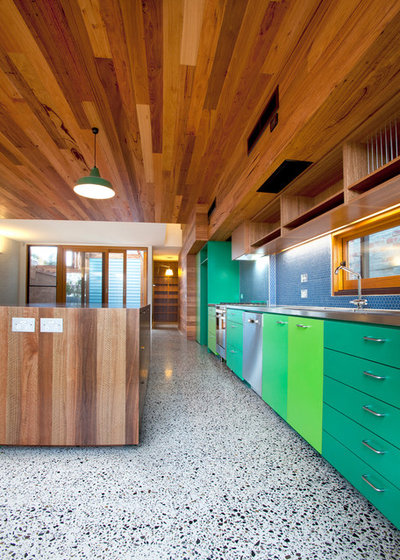
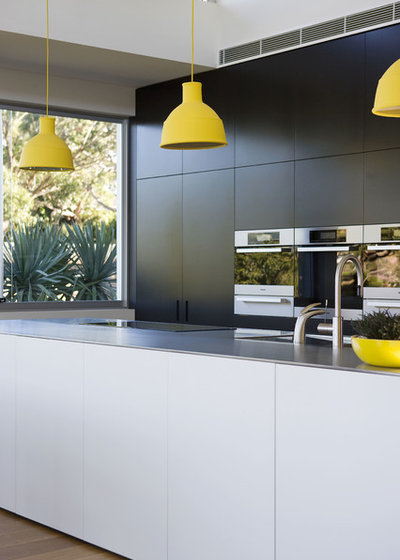
2. Your colour scheme One strong colour will transform the look of a kitchen into a standout design, but be careful that the colour doesn’t dominate. Cool ideas include placing a coloured surface under the kitchen island bench as a kickback, or using a colour on a bank of cabinets (but not all). Then, use monochromes, such as black, white or grey, to keep things simple.
When space is tight, keep colour to one area. Use one colour for vertical surfaces (cabinets and doors) and a shade of the same colour for horizontals (benchtops). Timber is always a a good teammate for colour, so choose timber veneers or planks for surfaces other than those earmarked for colour treatment. Save any really vivid brights for areas that can be easily changed, such as splashbacks.
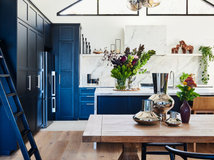
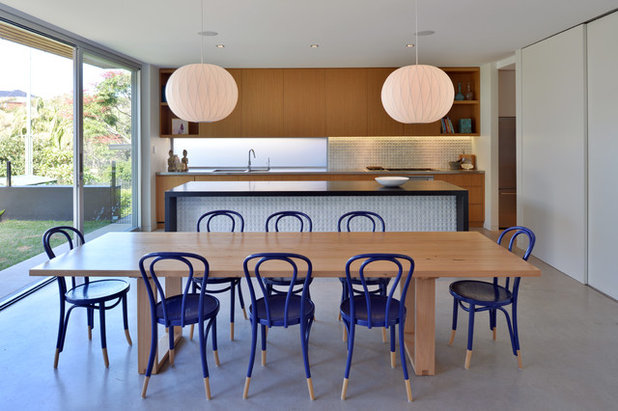
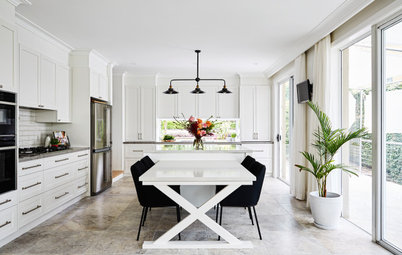
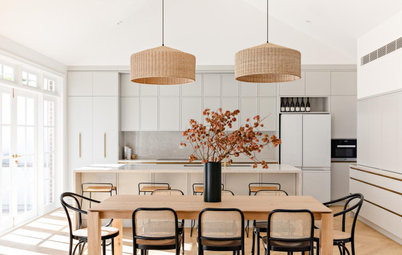
Colour can be a tricky thing to get right in kitchen design, especially when there is so much going on with various materials and surface finishes. If you would dearly love bright colour in your kitchen but are unsure about what and where to put it, add it with elements that can be updated at a later date when and if your tastes change. Pictured here is a dining setting near the kitchen that features very bright purple bentwood chairs. You can do the same with bench stools or kitchen accessories.
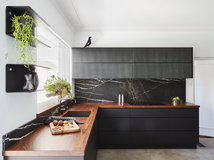
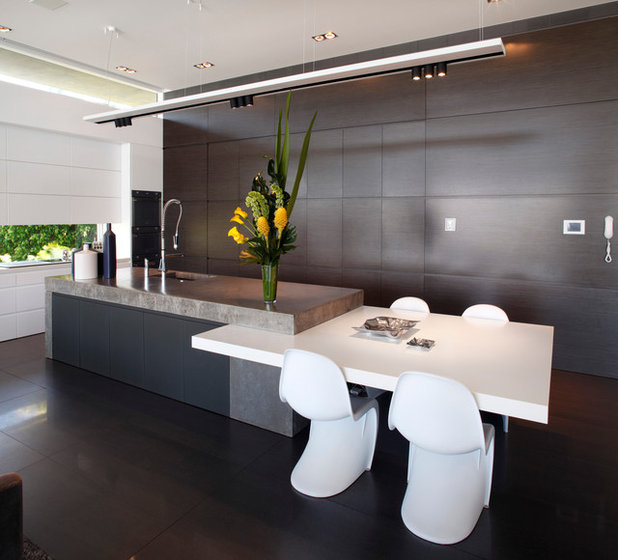
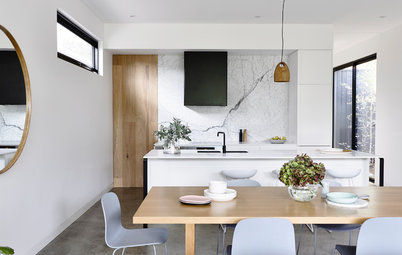
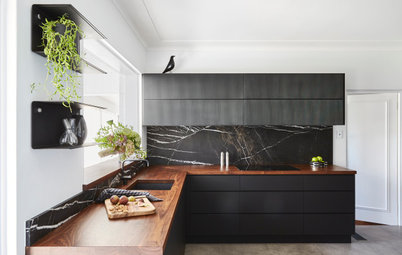
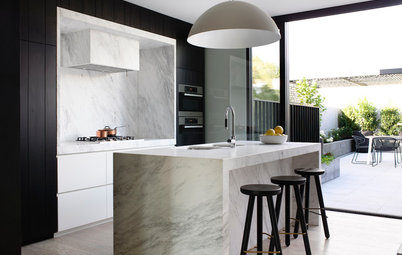
And, if you’re mad about monochrome, make it matter. The all-white kitchen has had its day in the sun, and designers are embracing every other monochrome available, including black and brown. But most often they mix shades and materials to create interest. Pictured here, the grey concrete benchtop, matt dark brown kitchen cabinetry and white engineered stone tabletop combine to create a smart sleek design that is not too overpowering.
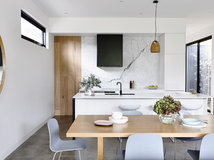
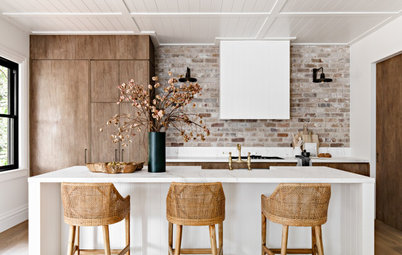
Opt for a couple of neutrals that fit your theme – for example, chalky cream and beige for French country; arctic white and ash grey for industrial chic or biscotti and pistachio for retro diner. A warm, neutral palette is always popular and rarely dates.
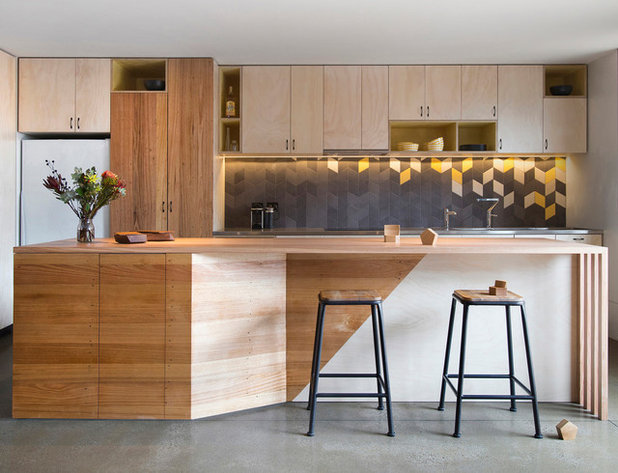
3. Your finishes Let your visual reference and colour palette direct your selection of finishes for cabinetry, benchtops, taps and sinks. In a Norwegian wood theme, add contrast by combining blonde veneers with white stone or black granite benchtops and add interest with geometric pattern tiles. If installed in an island bench, taps and sinks become the focus of the entertaining area, so for minimalist looks, choose something sleek and sculptural.
For rustic café, for example, choose hewn timber shelving and stainless steel benchtops and novel handles on cabinetry, or do away with handles all together. As a rule of thumb, use contrasting materials in kitchens to break down a large volume.
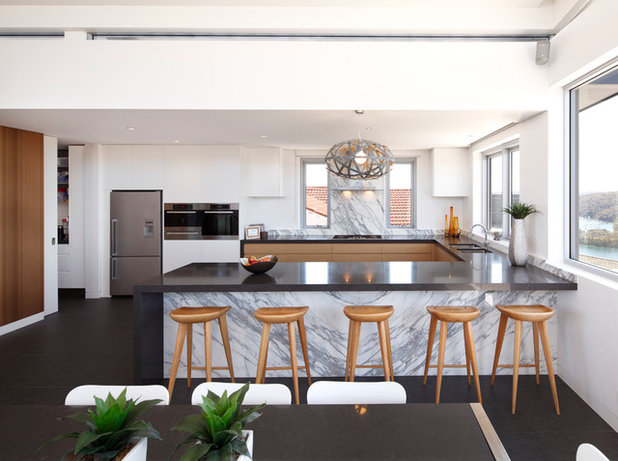
4. Your layout An efficient kitchen layout balances room to move with the close proximity of three key work areas: food storage, food preparation and clean-up zones. These should form a triangular layout that follows a kitchen’s workflow.
Key work areas also need to be adequately spaced so that tasks don’t interfere with each other, but not so far apart that work becomes tiring. Carefully position the dishwasher, fridge and oven doors to avoid conflict when opening.
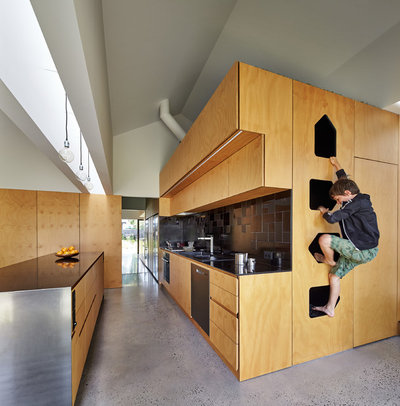
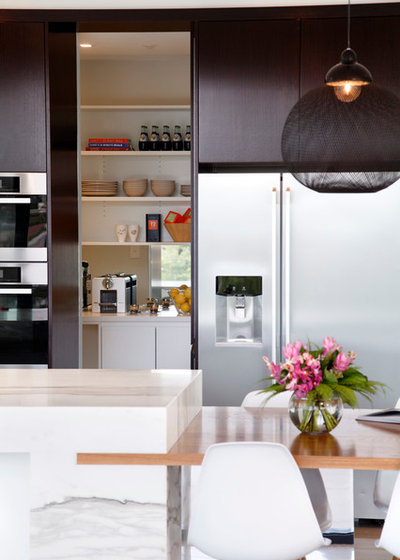
5. Your storage Maximise space through clever storage solutions for a clutter-free kitchen.Sliding doors may conceal hidden walk-in pantries, integrated cabinetry could include pull-out versions of the same, and soft-close panelled doors could hide large appliances behind them. Other inventive ways to conceal appliances and supplies include lazy Susans in corner cupboards, plate holders in deep, soft-close drawers, super-wide cutlery trays and integrated fridges and rangehoods.
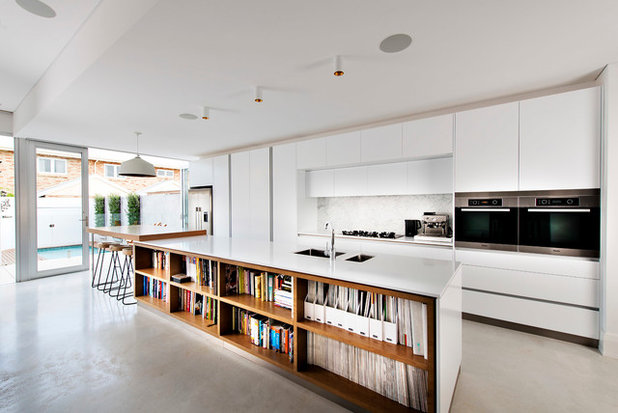
Families and friends congregate around kitchen island benches so make yours as big a possible and incorporate as much novel storage as you can afford. If your children like to do homework at the bench, then provide some shelves for them to stack books in.
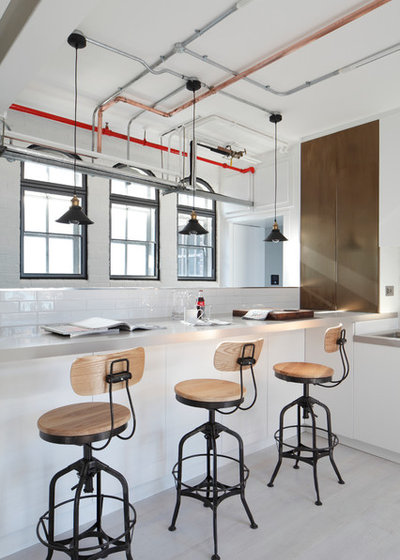
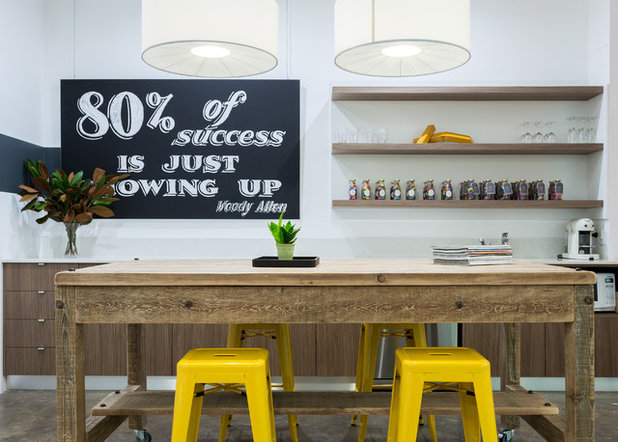
6. Your lighting Lighting is the jewellery of kitchen design. Get it right and it will make your kitchen a standout. Take a layered approach such as putting task and ambient lighting on separate switches. If there is an island bench, pendant lights hung low can create atmosphere and add a wow factor. And a wash of soft light on the splashback (such as LED strip lighting) can highlight a feature finish.
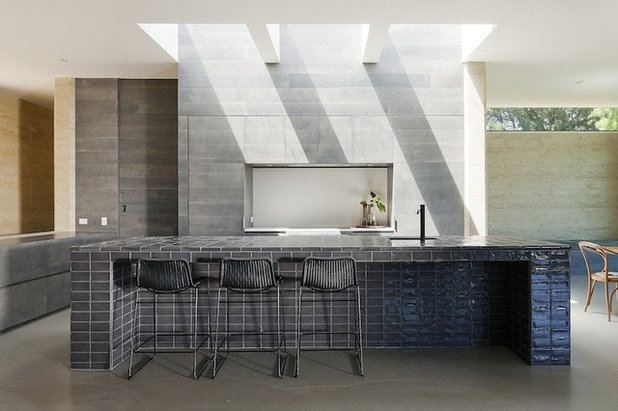
A skylight is quite literally a brilliant way to flood light into your kitchen, but other structural elements include regular windows, locating an internal courtyard near the kitchen or installing a narrow ribbon window above a kitchen bench when located along an exterior wall.
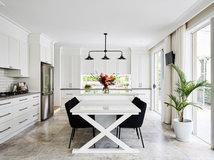
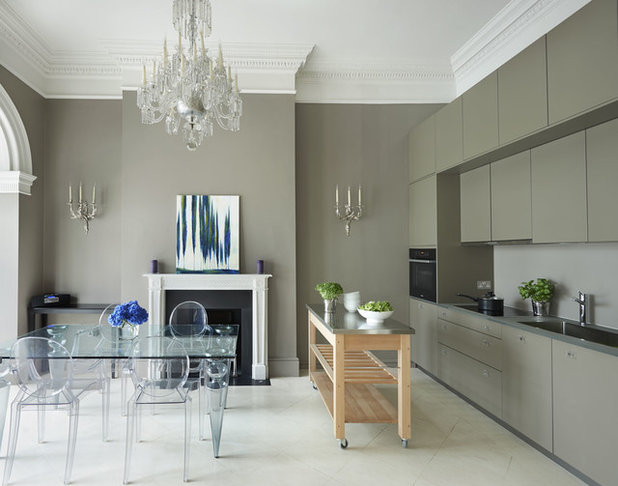
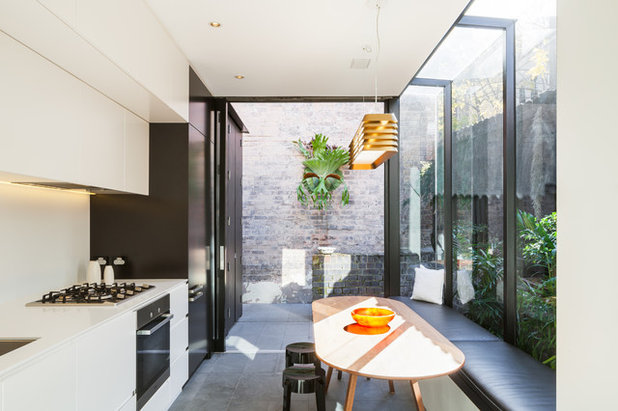
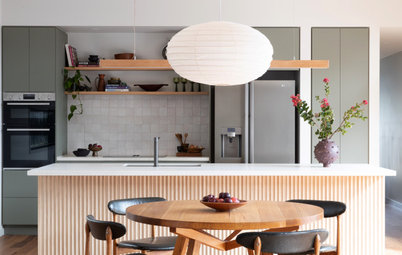
7. Your eating arrangements Many kitchens are part of an open-plan living area so it’s always useful to consider where the dining area will be placed in relation to the kitchen. When space is limited, try to position the dining area as close as possible to the kitchen but think of ways to avoid blocking natural light from windows (perhaps with a glass table, as seen here) or how to keep walkways clear (the built-in banquette bench below saves space in a narrow kitchen).