

DIY Project: Impress Guests With a Personalised Doormat
Stencil a fun and friendly message on your doormat with our handy DIY guide and free downloads
Jade Rennie
17 February 2017
Houzz Australia Contributor, Creator/Founder of Havven DIY and lifestyle site, graphic designer for The Brain Child. Mother of two and wife of a medical student. I greatly believe the saying: 'state of home, state of mind' so I try to collect memories; not things.
Houzz Australia Contributor, Creator/Founder of Havven DIY and lifestyle site, graphic... More
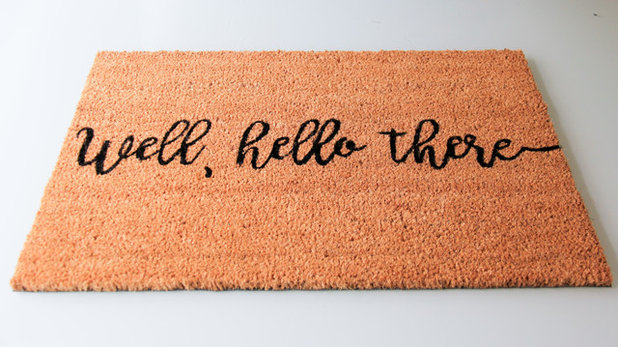
Gone are the days of the plain, boring doormat. Use a stencil to adorn your own doormat with a happy message to greet your guests, or to gift to a new homeowner. This project can be completed in under and hour, and is the perfect job for a Saturday afternoon. All you need is a doormat, a hobby knife, a stencil and fabric paint. Follow our step-by-step tutorial below.
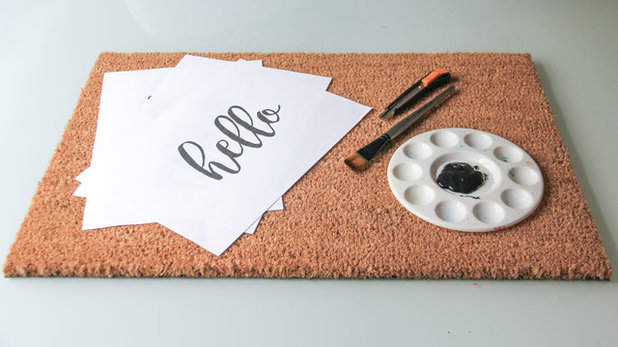
What you’ll need:
- Coir door mat (Bunnings have them for $5)
- A printed saying (download the templates below by clicking on each word)
- Paint brush
- Fabric paint
- Hobby knife
- Masking tape
- Cutting mat


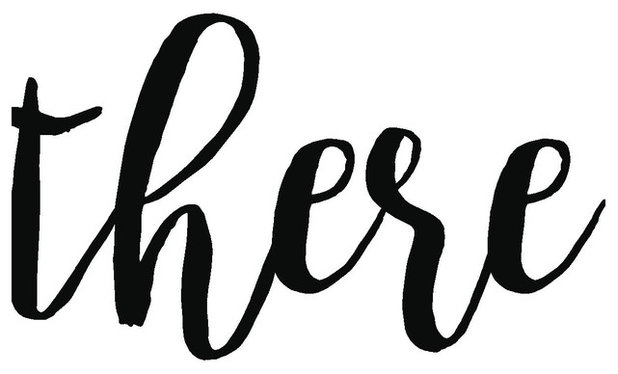
Tip: If you don’t use these templates, choose a font for your own message that is thick enough for you to cut out the letters easily using your hobby knife.
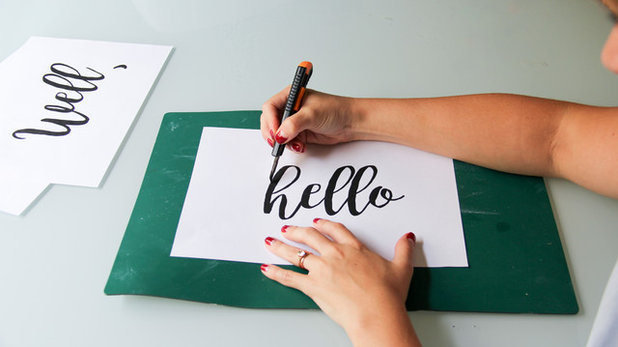
Step 1: Cut out your stencil
Start by cutting out all the letters from your phrase using a sharp hobby knife. Make sure you keep all the inner cut-outs, such as the loops in the ‘h’ shown here.
Tip: For curves, I found it easier to swing the cutting mat and stencil around while keeping the blade stationary, rather than following the shape of the curve with the blade itself.

Step 2: Line up your letters
Arrange your stencil or stencils in your chosen position on the doormat. Place the inner cut-outs back inside the letters.
Arrange your stencil or stencils in your chosen position on the doormat. Place the inner cut-outs back inside the letters.
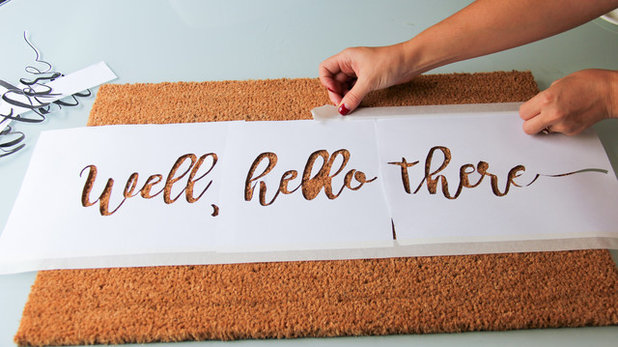
Step 3: Stick the stencil down
Using masking tape, stick the top and bottom of your stencil to the doormat. You can also use a dab of glue from a glue stick to hold the cut-outs in place while you work.
Tip: If your doormat is particularly bristly, push pins are a great alternative for holding it in place.
Using masking tape, stick the top and bottom of your stencil to the doormat. You can also use a dab of glue from a glue stick to hold the cut-outs in place while you work.
Tip: If your doormat is particularly bristly, push pins are a great alternative for holding it in place.
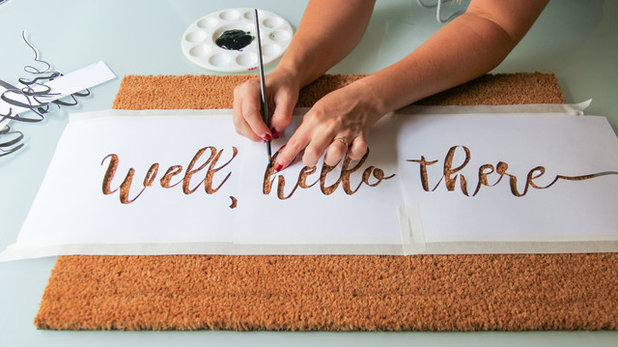
Step 4: Paint
To begin painting, dip your brush in paint and then gently press it into the bristles of the mat. I find a stippling motion (marking the doormat with small dots) works best to push the paint in between the cut-outs. Hold the inner cut-outs down with your finger and paint around around them.
Tip: The doormat will soak up plenty of paint, so make sure you have enough on hand.
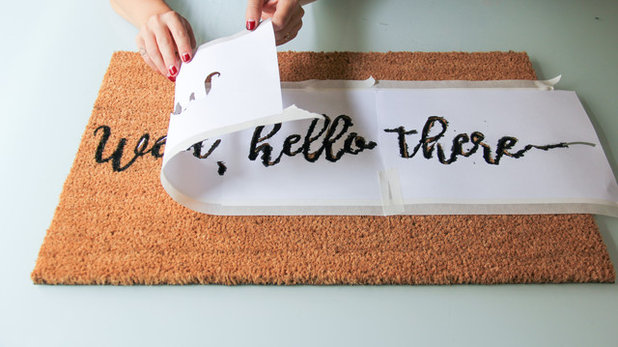
Step 5: The big reveal
Peel back the stencil to reveal your personalised message.
Peel back the stencil to reveal your personalised message.
Step 6: Let it dry
Leave your doormat to dry. I like to be safe and leave it overnight, although the amount of drying time you need will depend on your climate and how much paint you used.
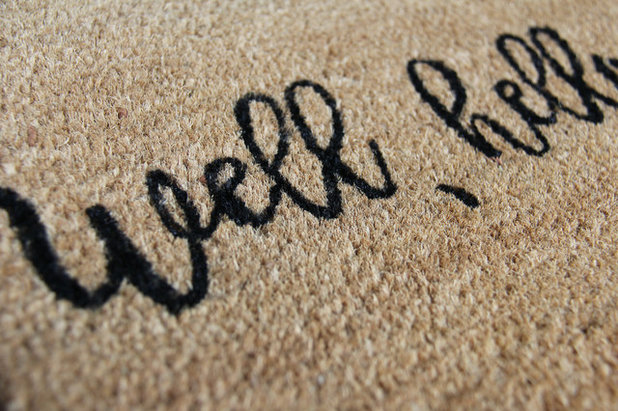
The paint will soak all the way down to the base of the mat, so you won’t feel any change in texture between the painted and non-painted material.
Leave your doormat to dry. I like to be safe and leave it overnight, although the amount of drying time you need will depend on your climate and how much paint you used.
The paint will soak all the way down to the base of the mat, so you won’t feel any change in texture between the painted and non-painted material.
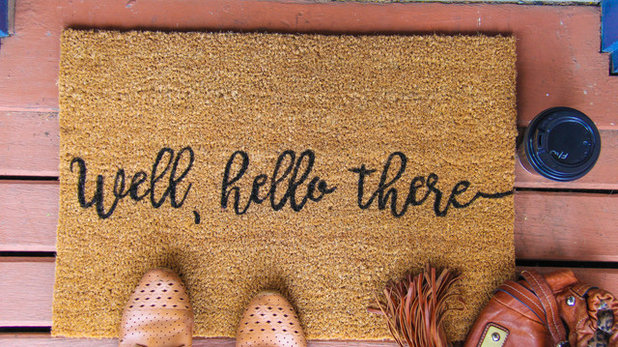
Show us
Are you going to give this a try? We’d love to see your personalised doormat in pride of place. Take a photo and share it with us in the Comments!
More
Browse more step-by-step DIY tutorials here
Are you going to give this a try? We’d love to see your personalised doormat in pride of place. Take a photo and share it with us in the Comments!
More
Browse more step-by-step DIY tutorials here
What are you working on?
Related Stories
Christmas
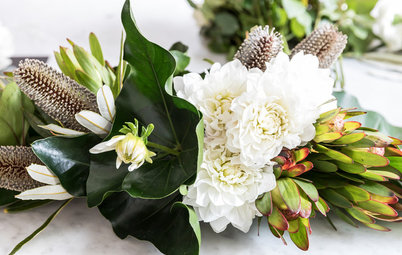
DIY: Three Blooming Amazing Christmas Flower Arrangements
Florist Jodie McGregor shows us how to make a vase arrangement, coffee table display and a wreath for Christmas
Full Story
DIY
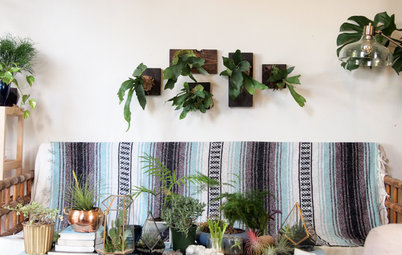
DIY Display for Staghorn Ferns
By Kayla Stark
Get a step-by-step guide to turning a shade-loving staghorn fern into a piece of living wall art
Full Story
DIY Projects
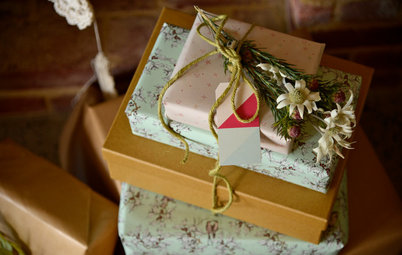
How to Make Thoughtful Homeware Gifts for Those You Love
A personal, bespoke gift brings the joy back into giving and leaves minimal environmental footprint
Full Story
DIY Projects
DIY Project: Natural Lavender and Rosemary Moisturiser
Ditch the chemicals and make your own rich moisturiser out of natural ingredients
Full Story
Bathrooms
7 Good-Looking Ways to Arrange Stacked Tiles
Wondering which layout to use for your tiles? Check out these straight or stack-bond patterns for inspiration
Full Story
DIY
DIY Project: Garden Chair Makeover
Give dated and weathered garden chairs a contemporary upgrade this long weekend with these easy tips from a DIY expert
Full Story
DIY Projects
DIY Project: Rattan Cabinet Makeover
Here's how to revamp that classic piece of Australian furniture, the rattan cabinet
Full Story
DIY
DIY Project: String Art Christmas Cards
Cardboard, a needle and thread is all it takes to make gorgeous Christmas tree cards with a personal touch
Full Story
Renovating
Bring on the Bling... With Specialty Paint Finishes
From liquid gold to instant rust and concrete effect, the latest paint effects add easy character to your home
Full Story
DIY Projects
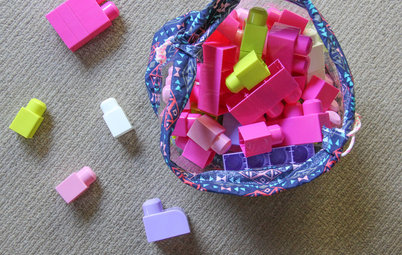
DIY Sewing Project: A Cute Peekaboo Toy Bag
By Jade Rennie
For the ultimate in toy storage, have a go at making these peek-a-boo bags
Full Story
I had a doormat once... but the dog ate it :(
Thanks everyone for your comments, If you have access to a computer and have a printer just enlarge any word you would like and print out. :) I just included the printable here in case anyone liked this design. Happy creating. Don't forget to follow me for more easy and fun DIY!