
DIY: Treat Your Backyard Fence to Hanging Pot Shelves
Use the free vertical space on your fences to full advantage with DIY shelves designed to house colourful plants

If you’re anything like me, you don’t bat an eye at adorning your interior walls with colourful accessories. So why does your fence remain a blank slate? Take advantage of the space your fence provides by enhancing it with potted plants. This simple set of DIY hanging pot shelves add visual interest and colour to your outdoor space without taking up prime real estate.
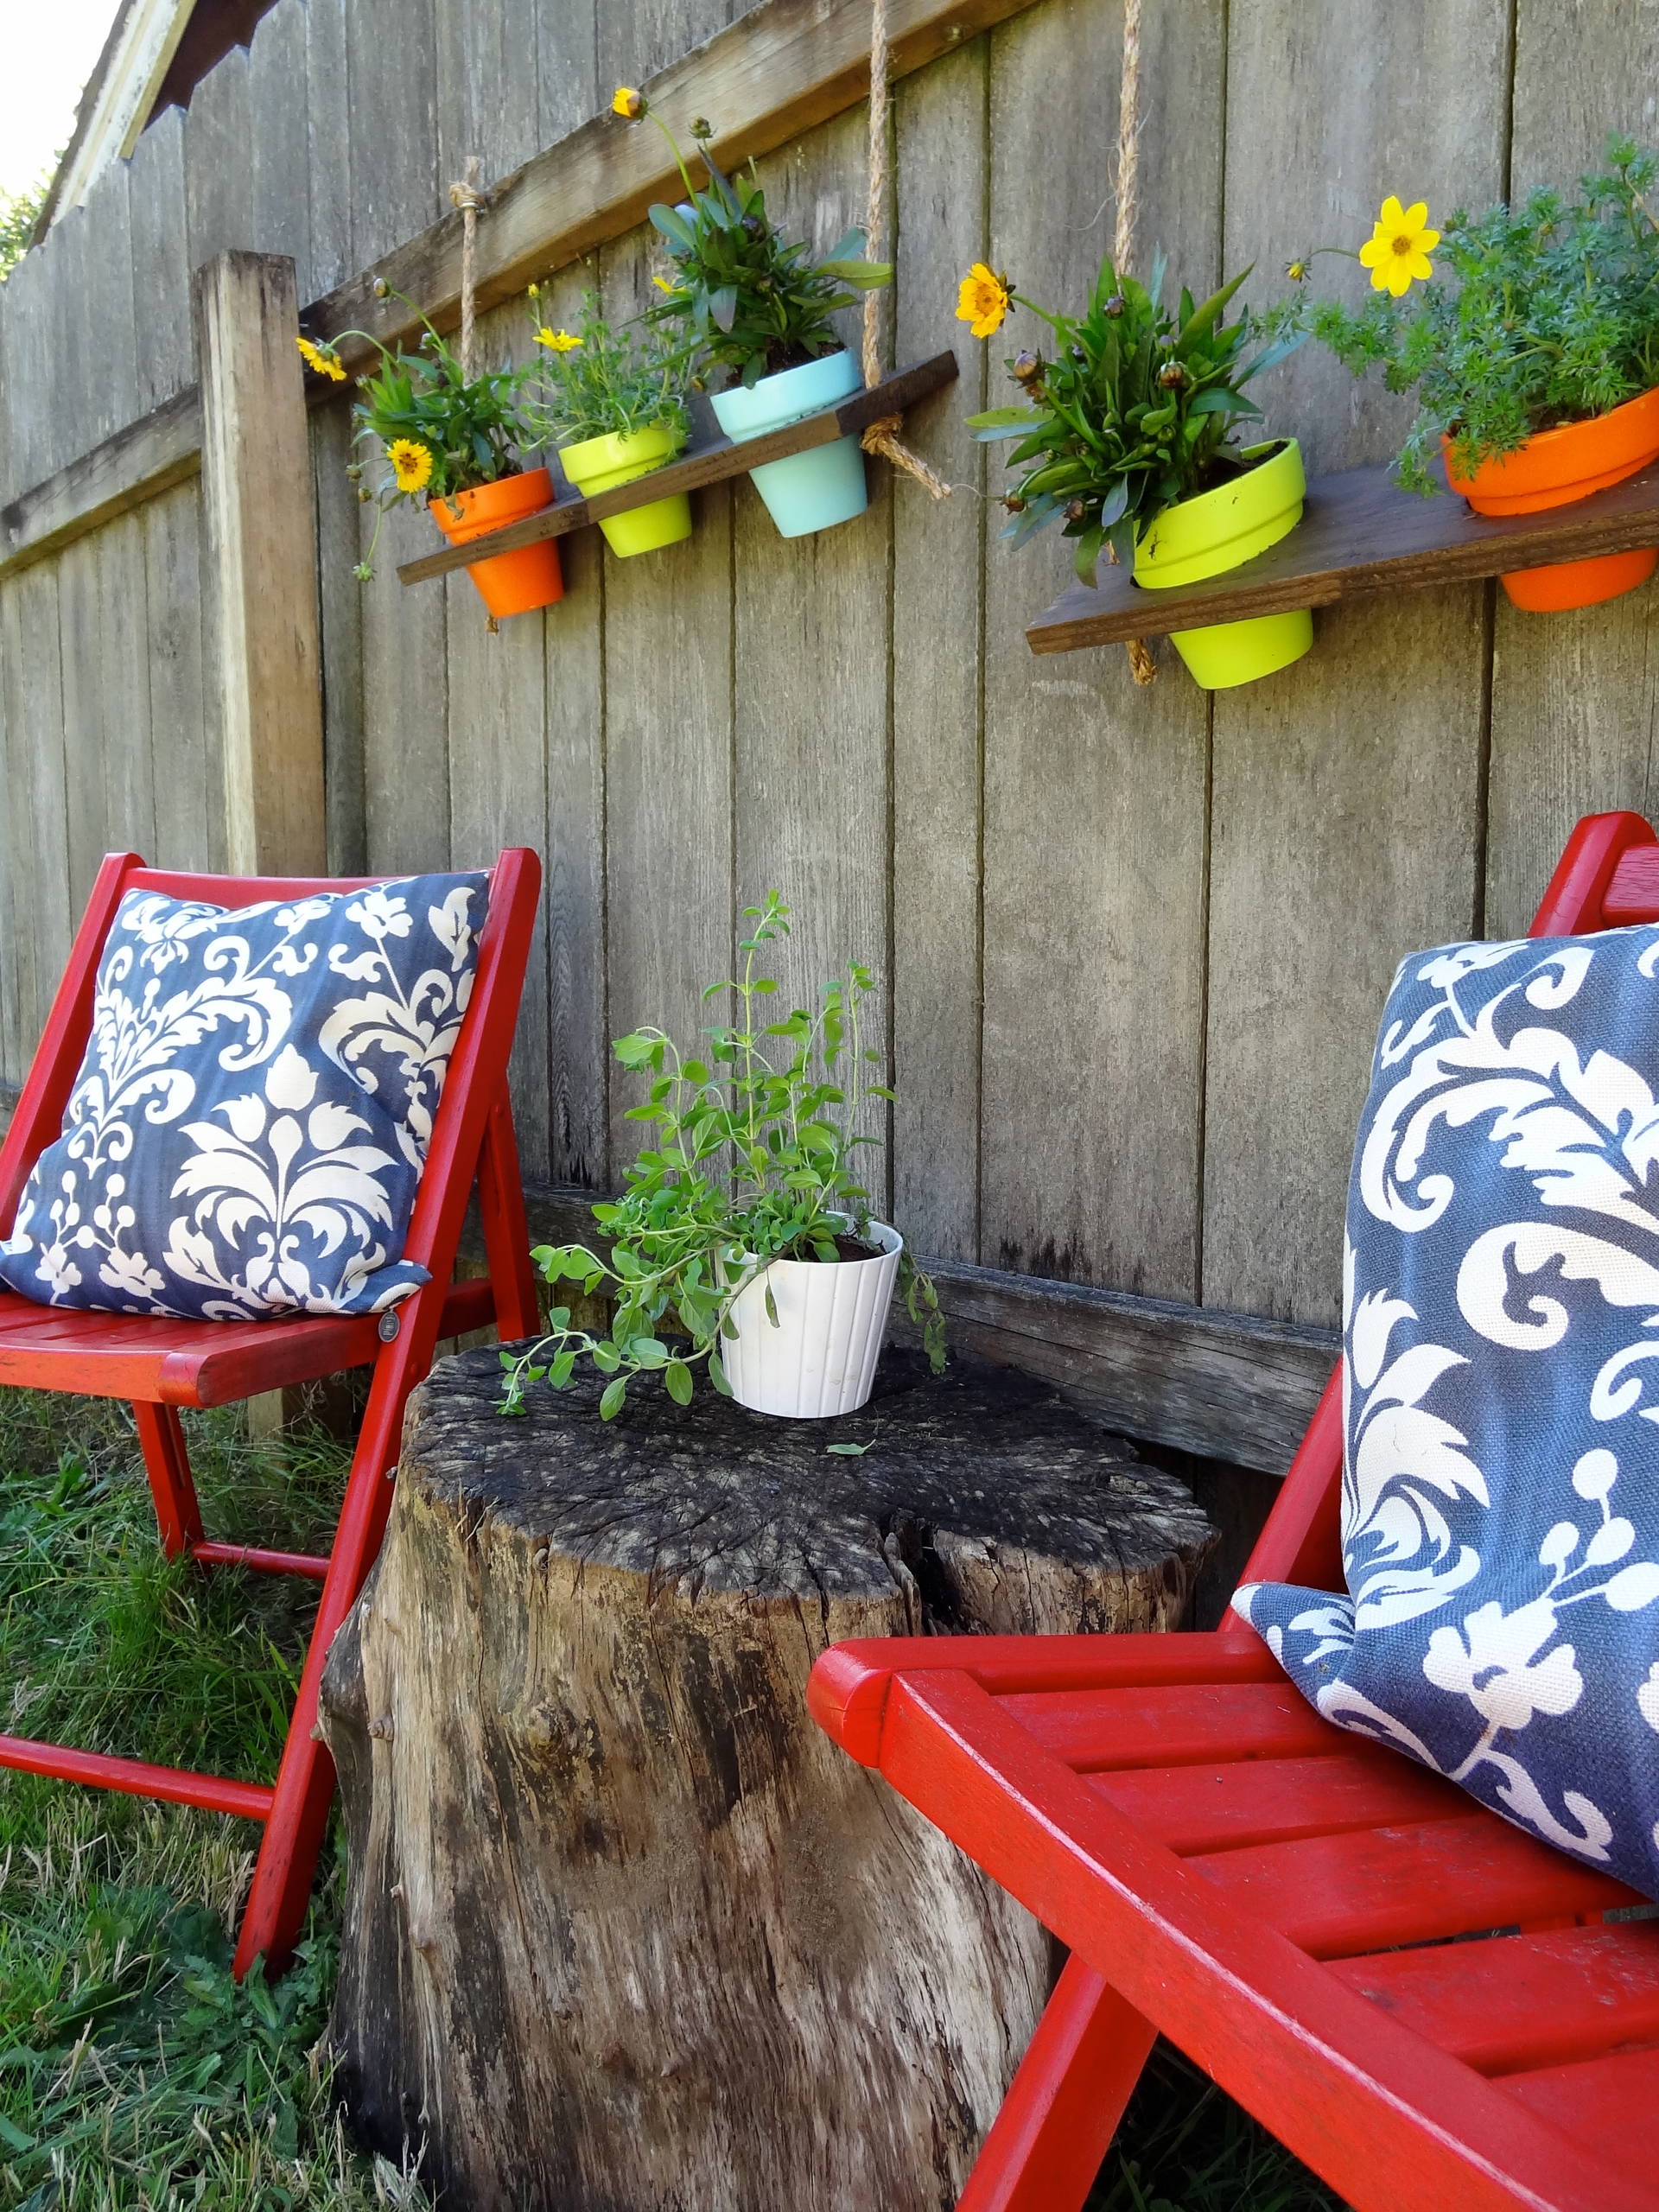
These two hanging shelves can easily be dressed up with colourful pots or a bright coat of paint. For the finishing touch, add lawn chairs and a side table to create a festive sitting area.
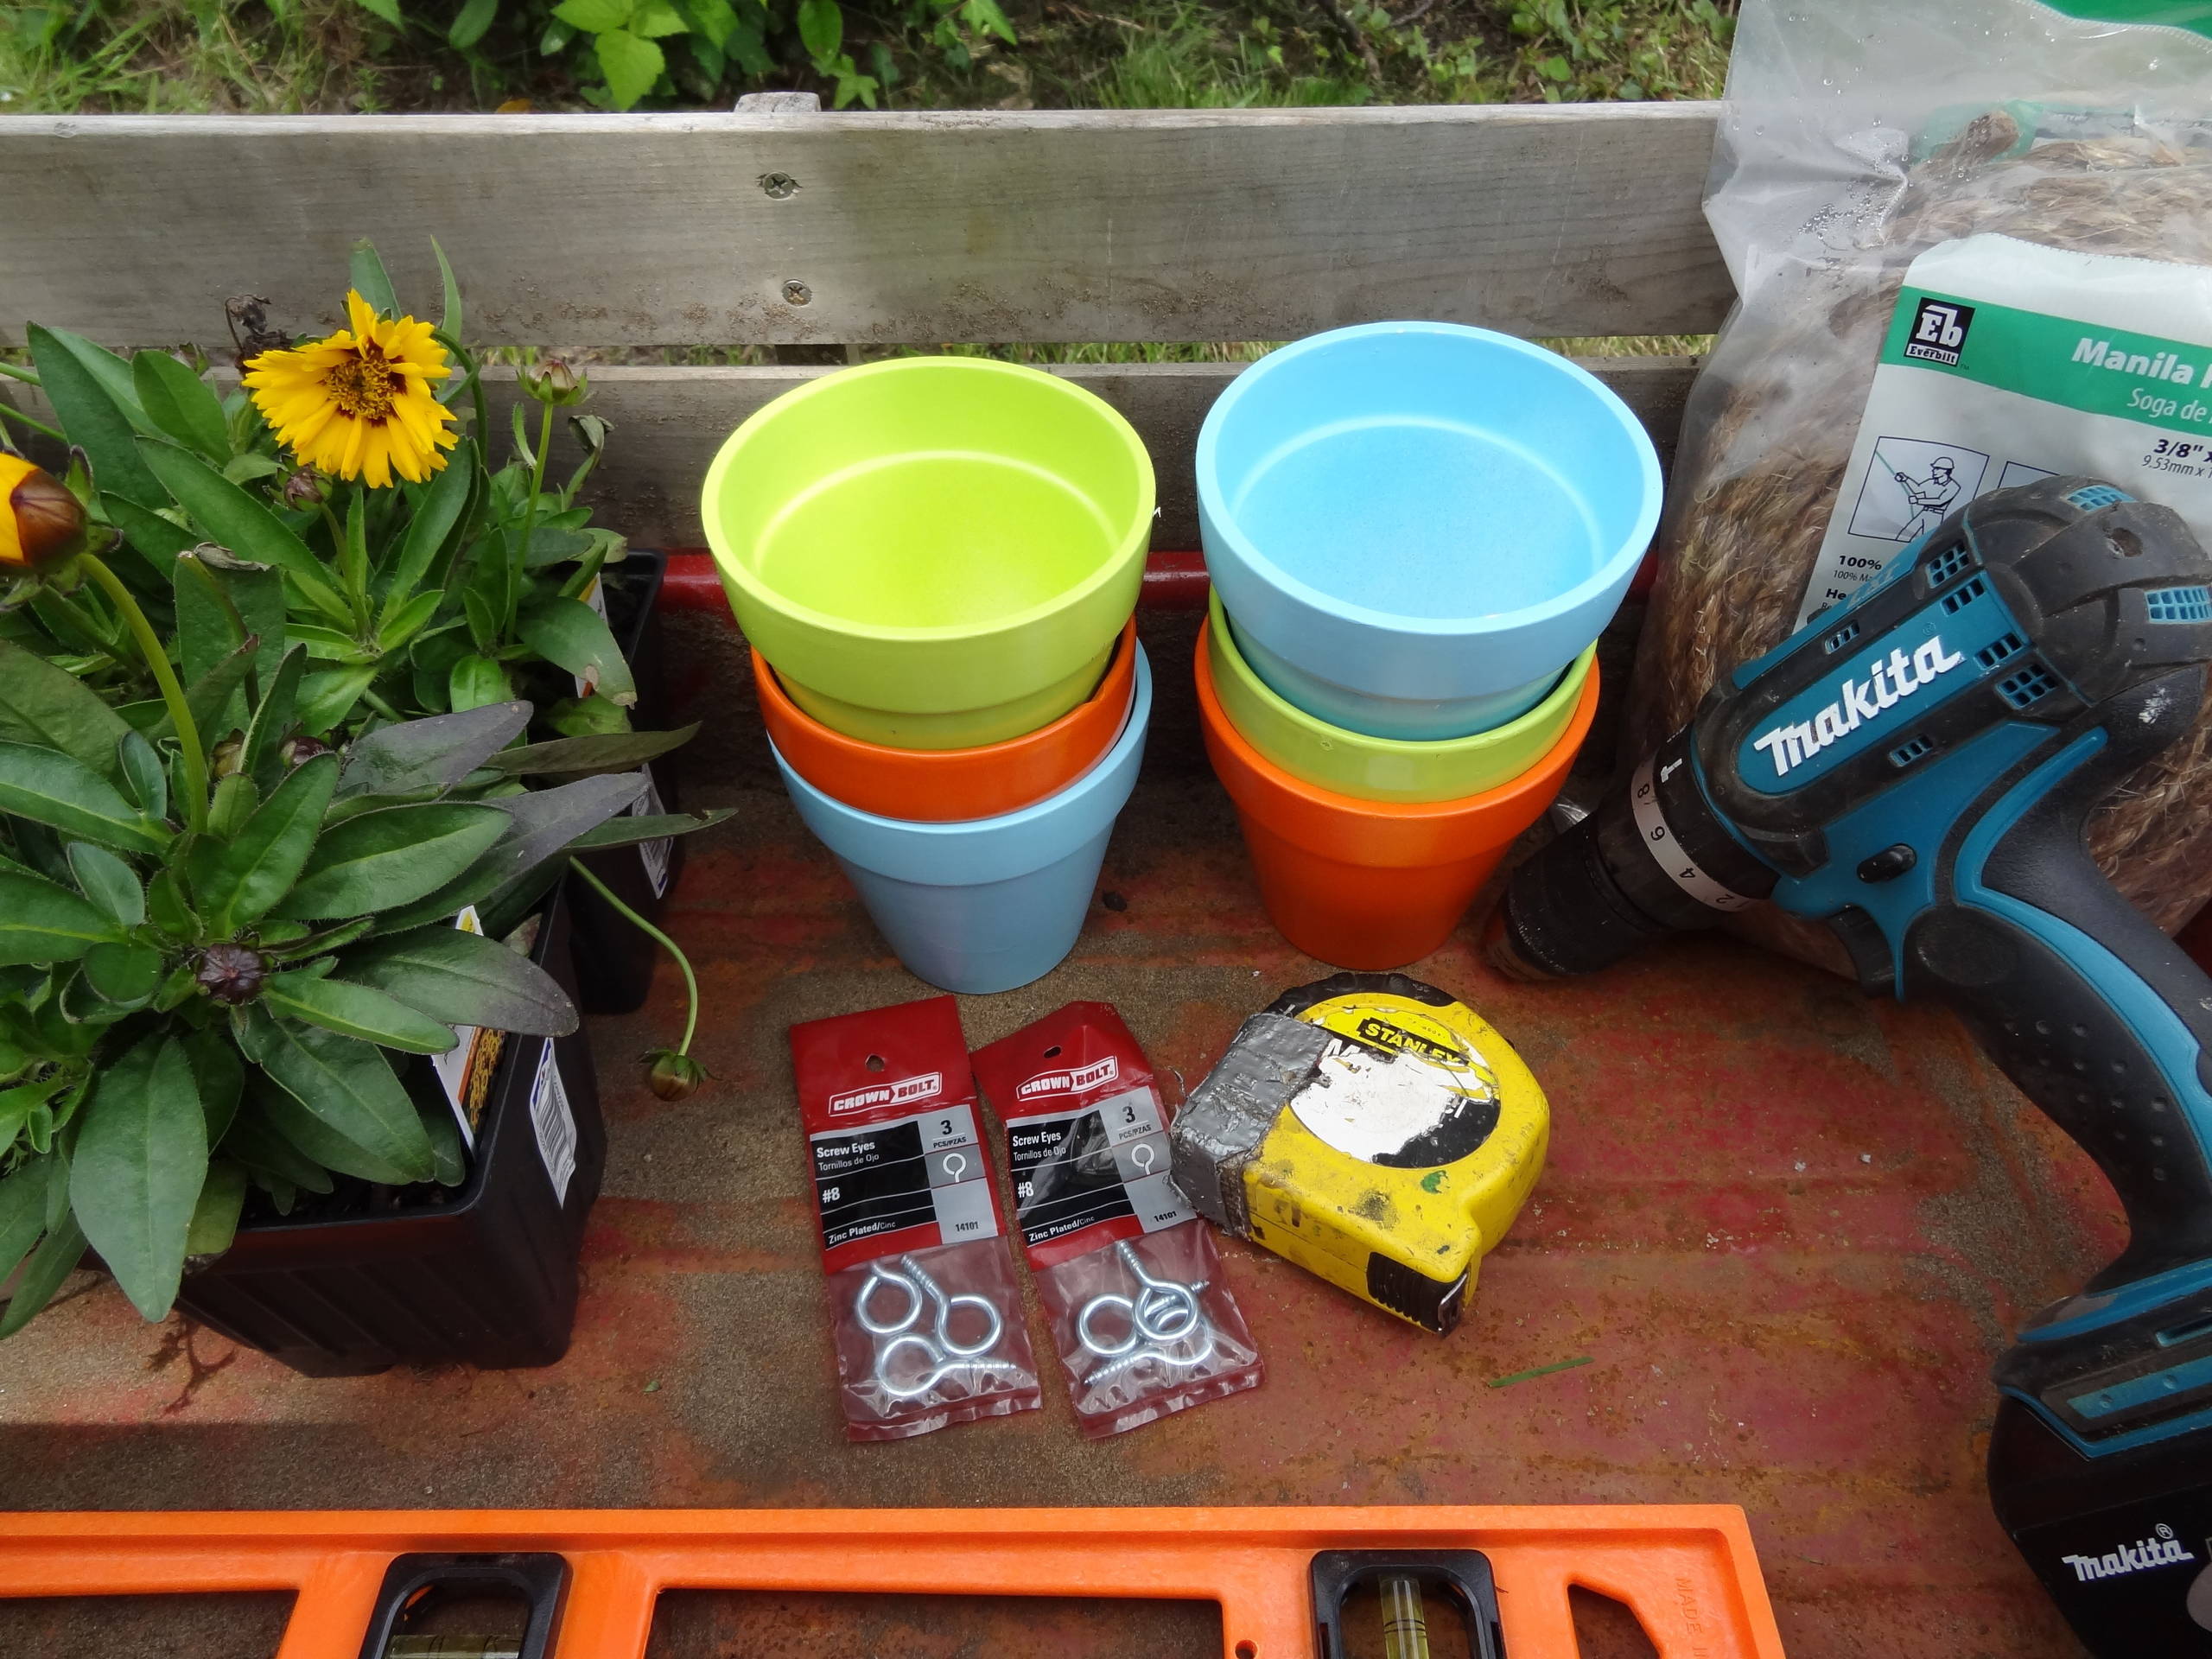
Materials
Begin by measuring the section of your fencing where you wish to place your shelves. The total length of the area will help you determine where to place the two hanging shelves.
- 1200mm length of 150mm x 25mm treated pine to make 2 x 600mm-long boards (you could also use cedar or any other wood suited to the outdoors)
- Measuring tape
- Circular saw or handsaw
- Jigsaw and electric drill
- 12mm drill bit
- 4 x 66mm zinc-plated screw eyes
- 10mm sisal rope (or similar natural-fibre rope)
- Outdoor wood stain and brush
- (6) 11cm-wide ceramic pots with a lip, in colours to suit your styling
- 6 flowering plants
Begin by measuring the section of your fencing where you wish to place your shelves. The total length of the area will help you determine where to place the two hanging shelves.
For placement of the shelves, measure and mark along the horizontal brace, between the two vertical support posts, at least 30cm from an end post, then 60cm in from that mark (this is where the first shelf will be positioned). Repeat the process from the second post. In my case, this left 16cm between each shelf. Feel free to adjust the spacing to suit your space.
Hanging the shelves from the horizontal brace provides proper support and adequate clearance for the hanging shelves to lie flush against the fence, and ensures that the screw eyes won’t poke through to your neighbour’s side of the fence line.
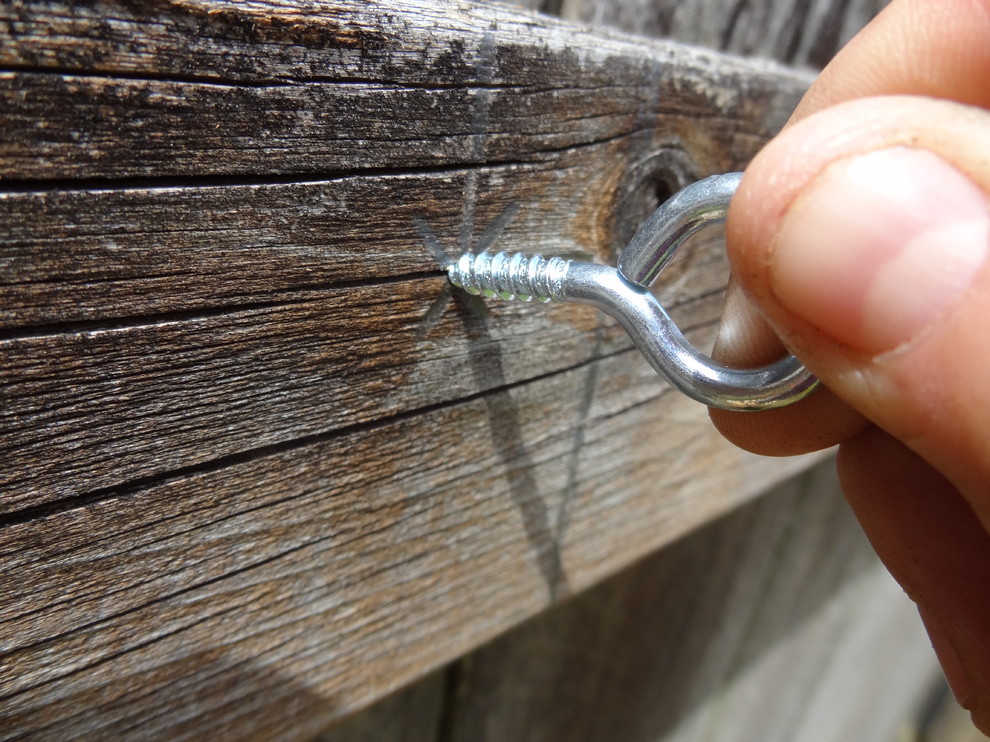
For placement of the four screw eyes, measure and mark 2.5cm in from each of the previous four measurements and 2.5cm down from the top of the horizontal brace.
Screw the zinc-plated screw eyes into the horizontal brace by hand or with pliers. If needed, pre-drill holes.
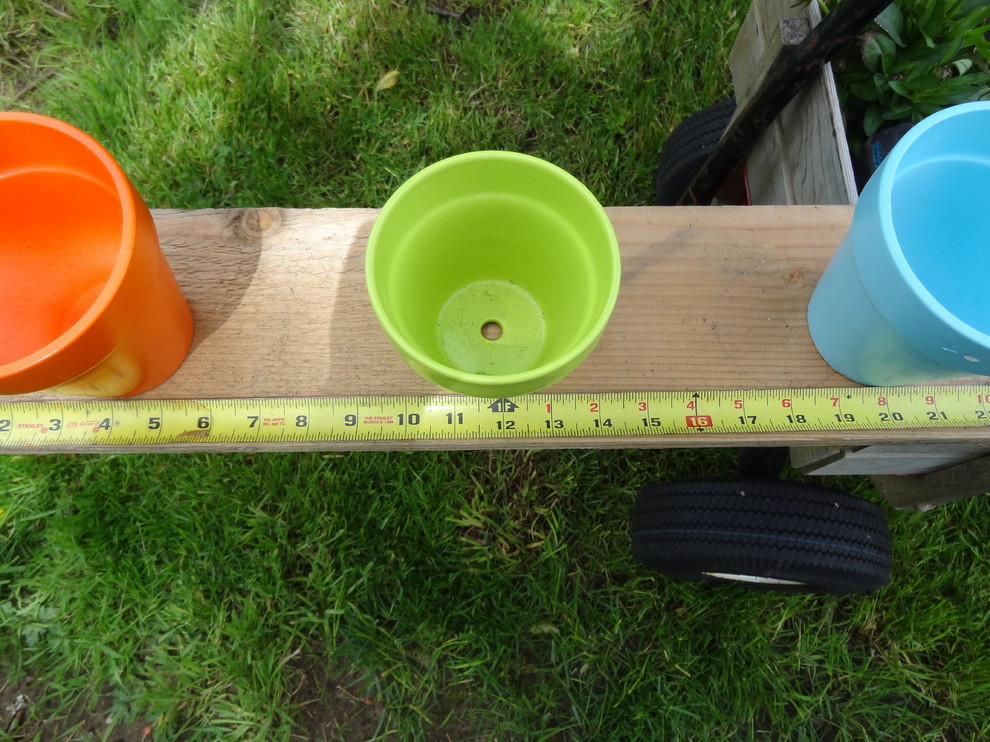
Next, I rummaged through my scrap wood pile and found a nice piece to use. I cut it into two 60cm-long boards using a circular saw. Cedar, which will last longer than pine, would be a great substitute. Lacking a circular saw? A handsaw takes a bit more effort, but works just as well.
Once the boards are cut to length, draw a centre line down the length of one board. I placed each pot along the centre line and made marks at 10cm, 30cm and 50cm along the board. I chose this placement to allow adequate space for each plant to grow and enough space on each end for the rope to be attached.
Once the boards are cut to length, draw a centre line down the length of one board. I placed each pot along the centre line and made marks at 10cm, 30cm and 50cm along the board. I chose this placement to allow adequate space for each plant to grow and enough space on each end for the rope to be attached.
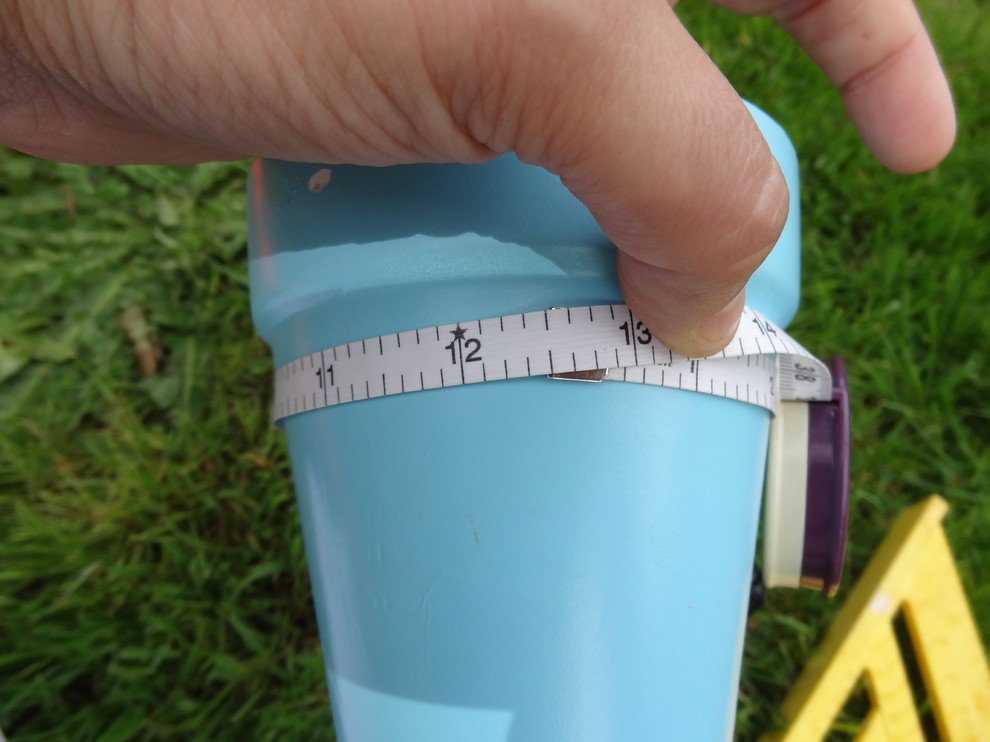
Measure the circumference of a pot just under the lip. This measurement will aid you in calculating the diameter, which is the circumference divided by 3.14. My pots were 10cm in diameter below the lip.
With a diameter of 10cm, measure and mark 5cm to the left, right, top and bottom of the centre points you previously marked (at 10cm, 30cm and 50cm) on the board. This will provide you with markers to create your circular templates.
With a diameter of 10cm, measure and mark 5cm to the left, right, top and bottom of the centre points you previously marked (at 10cm, 30cm and 50cm) on the board. This will provide you with markers to create your circular templates.
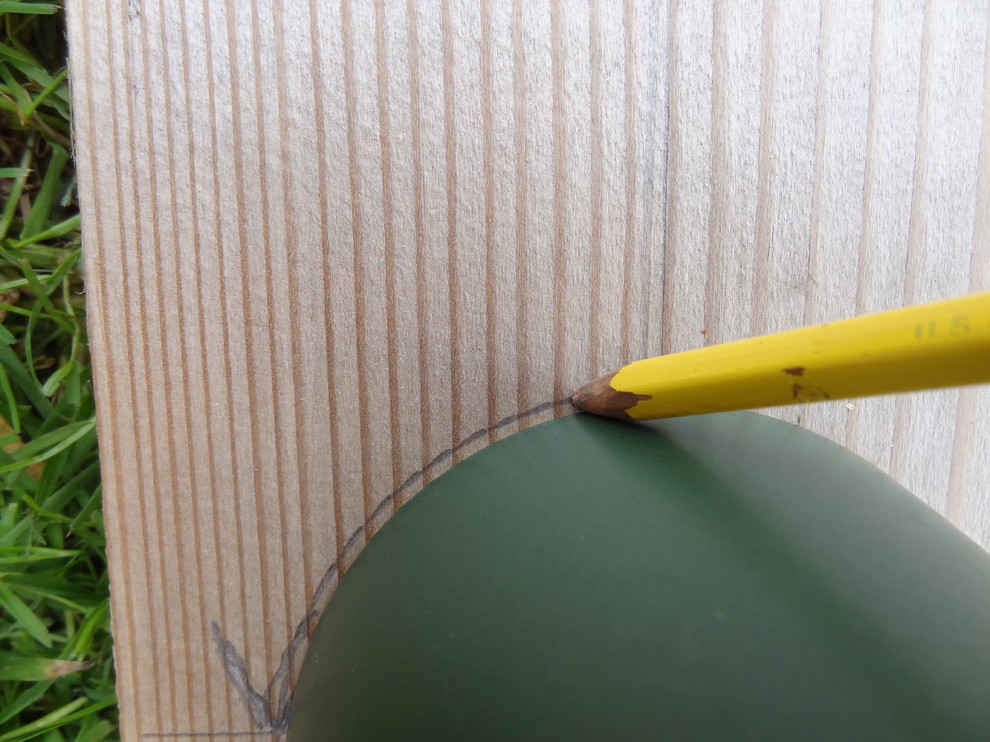
Use a circular object to help you connect your marks on the board. I didn’t have a 10cm-diameter object, but using a round coffee mug to connect two points at a time got the job done. You could also use a compass.
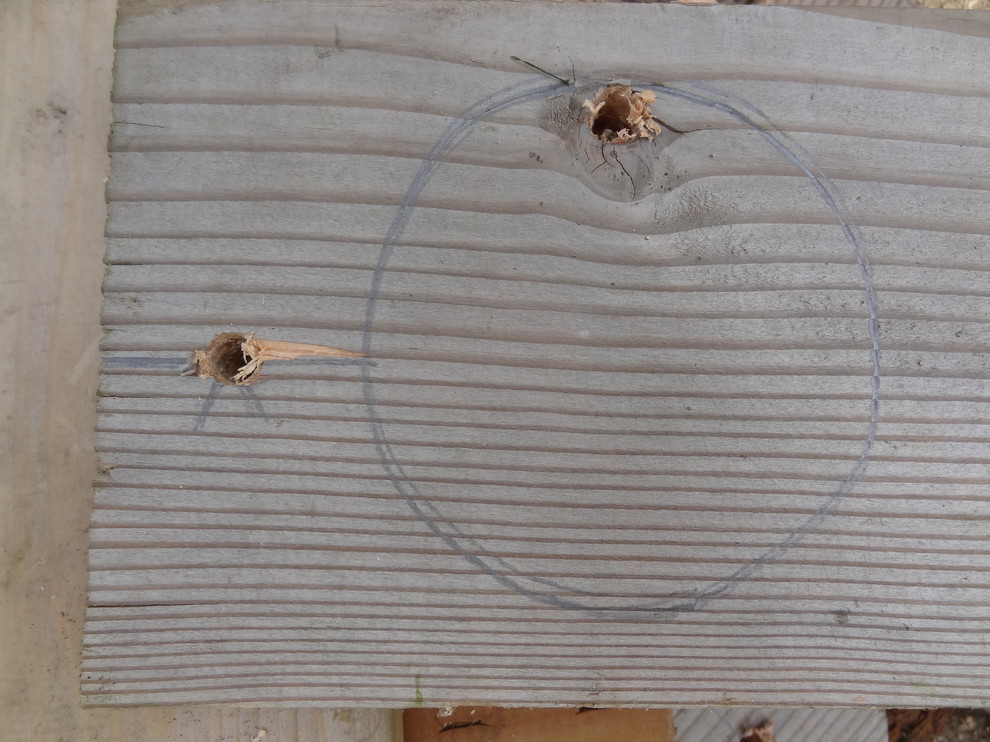
To determine rope placement, use your drill and a 12mm drill bit. Drill a hole on the centre line 2.5cm from the right and left sides of the board.
Now drill a hole on the interior of each circle as close to your outline as possible. This will provide entry points for the jigsaw.
Now drill a hole on the interior of each circle as close to your outline as possible. This will provide entry points for the jigsaw.
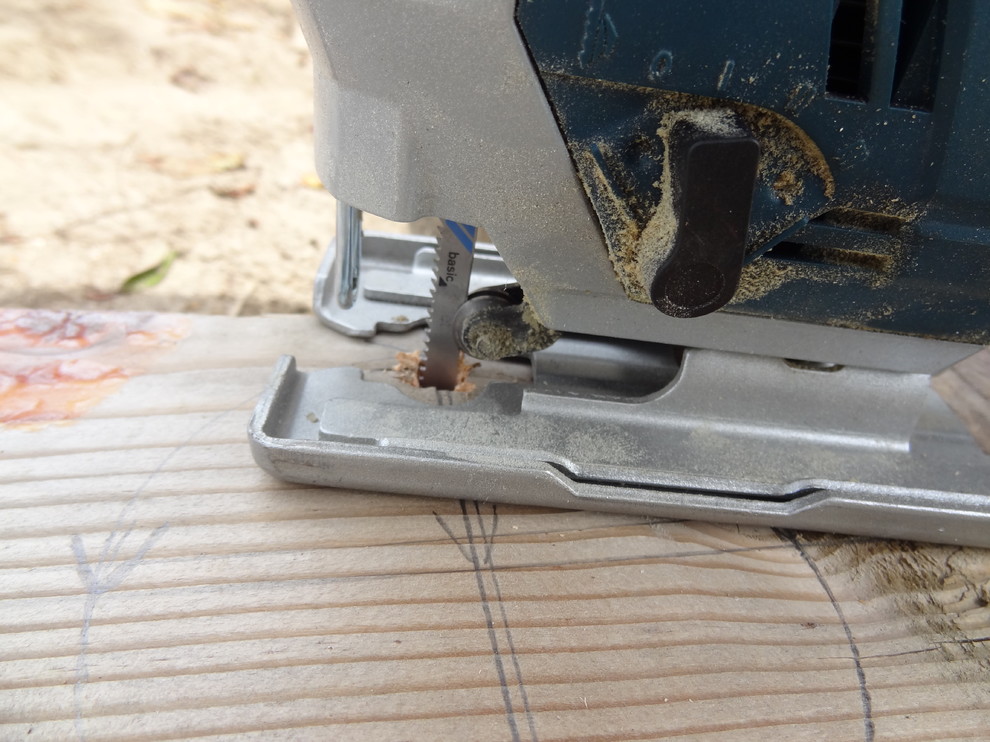
Starting from the pre-drilled holes, cut out each circle with a jigsaw.
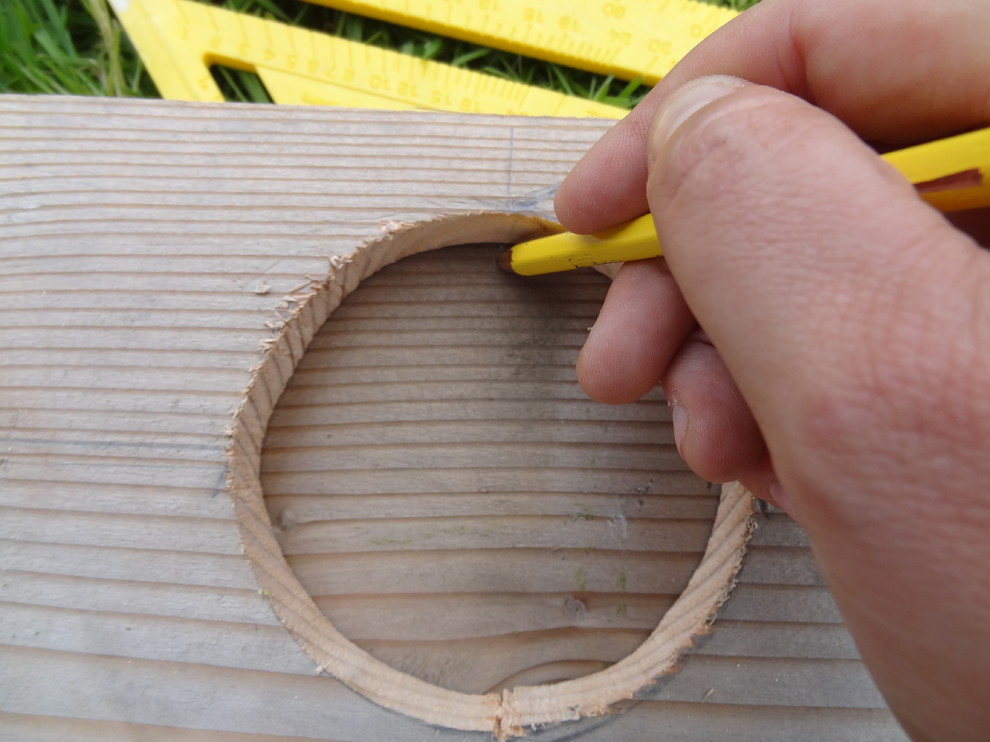
No need to measure everything a second time. Use the first board as a template for your second shelf.
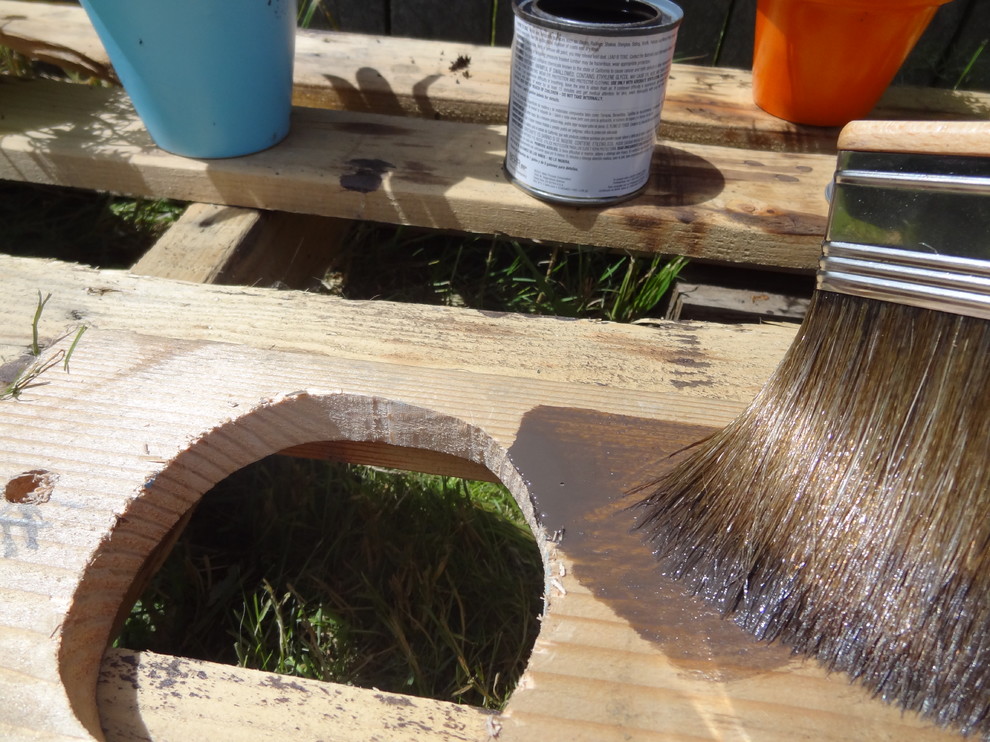
To protect your shelf from the elements and to add a rich colour to the wood, apply two coats of outdoor wood stain.
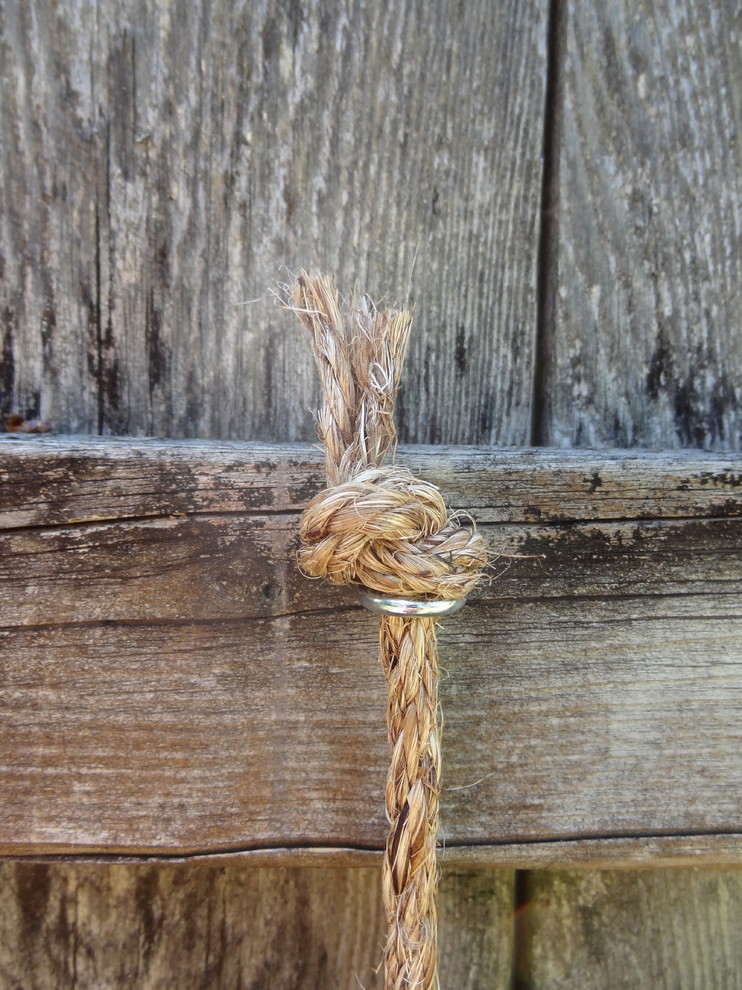
While the stain is drying, finish preparing the hanging portion of this project. Feed the rope through the screw eye and knot it at the top. I used manila rope, but in Australia you could use sisal or any other type of natural rope.
Next, measure the length you’ll need from this screw eye to where the shelf will be, adding about 12cm to the length to allow for tying the knot below the board. I hung the first shelf 30cm down and the second at 45cm to keep them both close to eye level, so needed lengths of rope of 42cm and 57cm. Repeat the process for each of the screw eyes and rope lengths.
Next, measure the length you’ll need from this screw eye to where the shelf will be, adding about 12cm to the length to allow for tying the knot below the board. I hung the first shelf 30cm down and the second at 45cm to keep them both close to eye level, so needed lengths of rope of 42cm and 57cm. Repeat the process for each of the screw eyes and rope lengths.
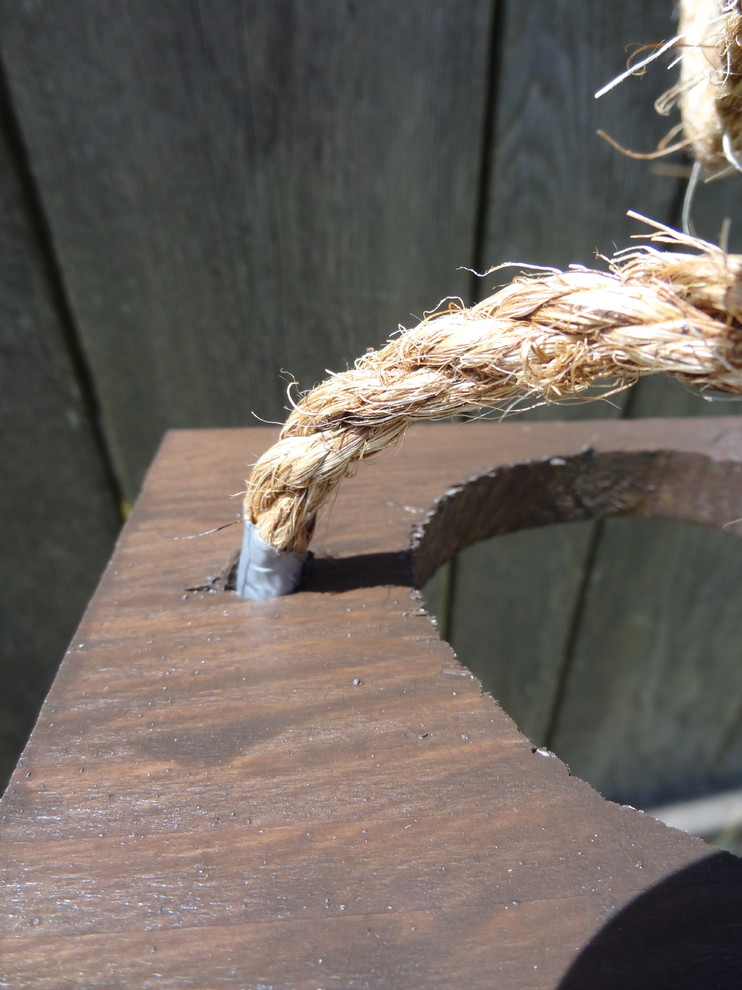
After the stain is dry, slip the bottom end of each rope length through the holes in the shelves, securing underneath with a knot. Be careful to keep each shelf straight.
TIP: Wrap electrical tape around the ends of the rope lengths to make it easy to pull through. No need to remove it – each end will be trimmed off.
TIP: Wrap electrical tape around the ends of the rope lengths to make it easy to pull through. No need to remove it – each end will be trimmed off.
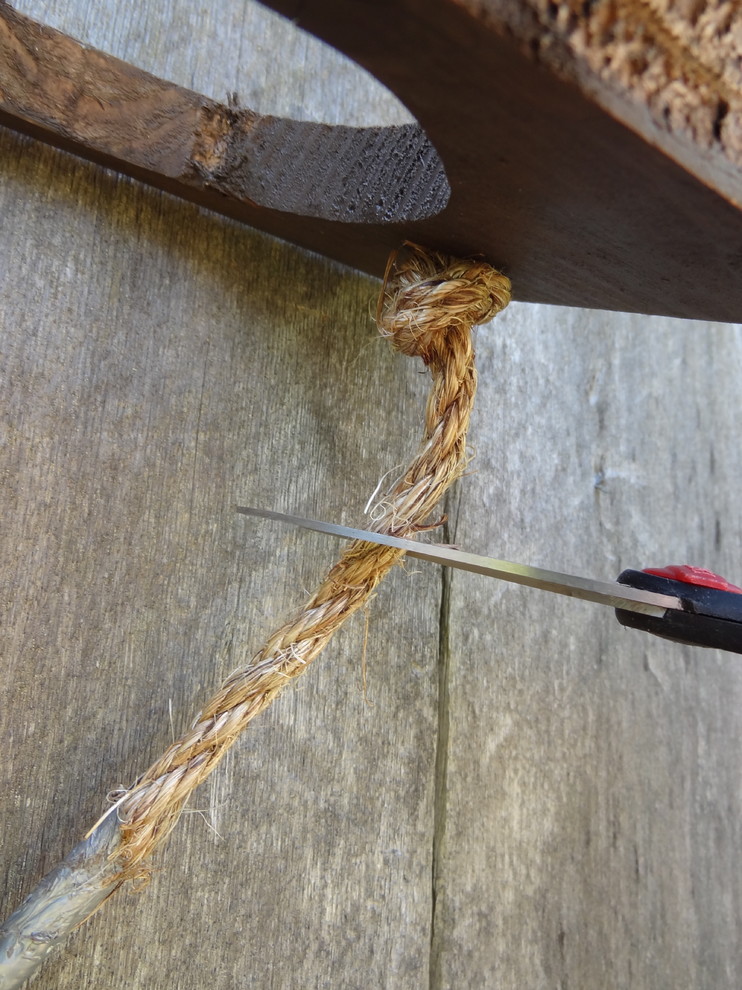
Tie a knot on the underside of each shelf and trim any extra rope, leaving at least 2.5cm so you can remove it easily if needed.
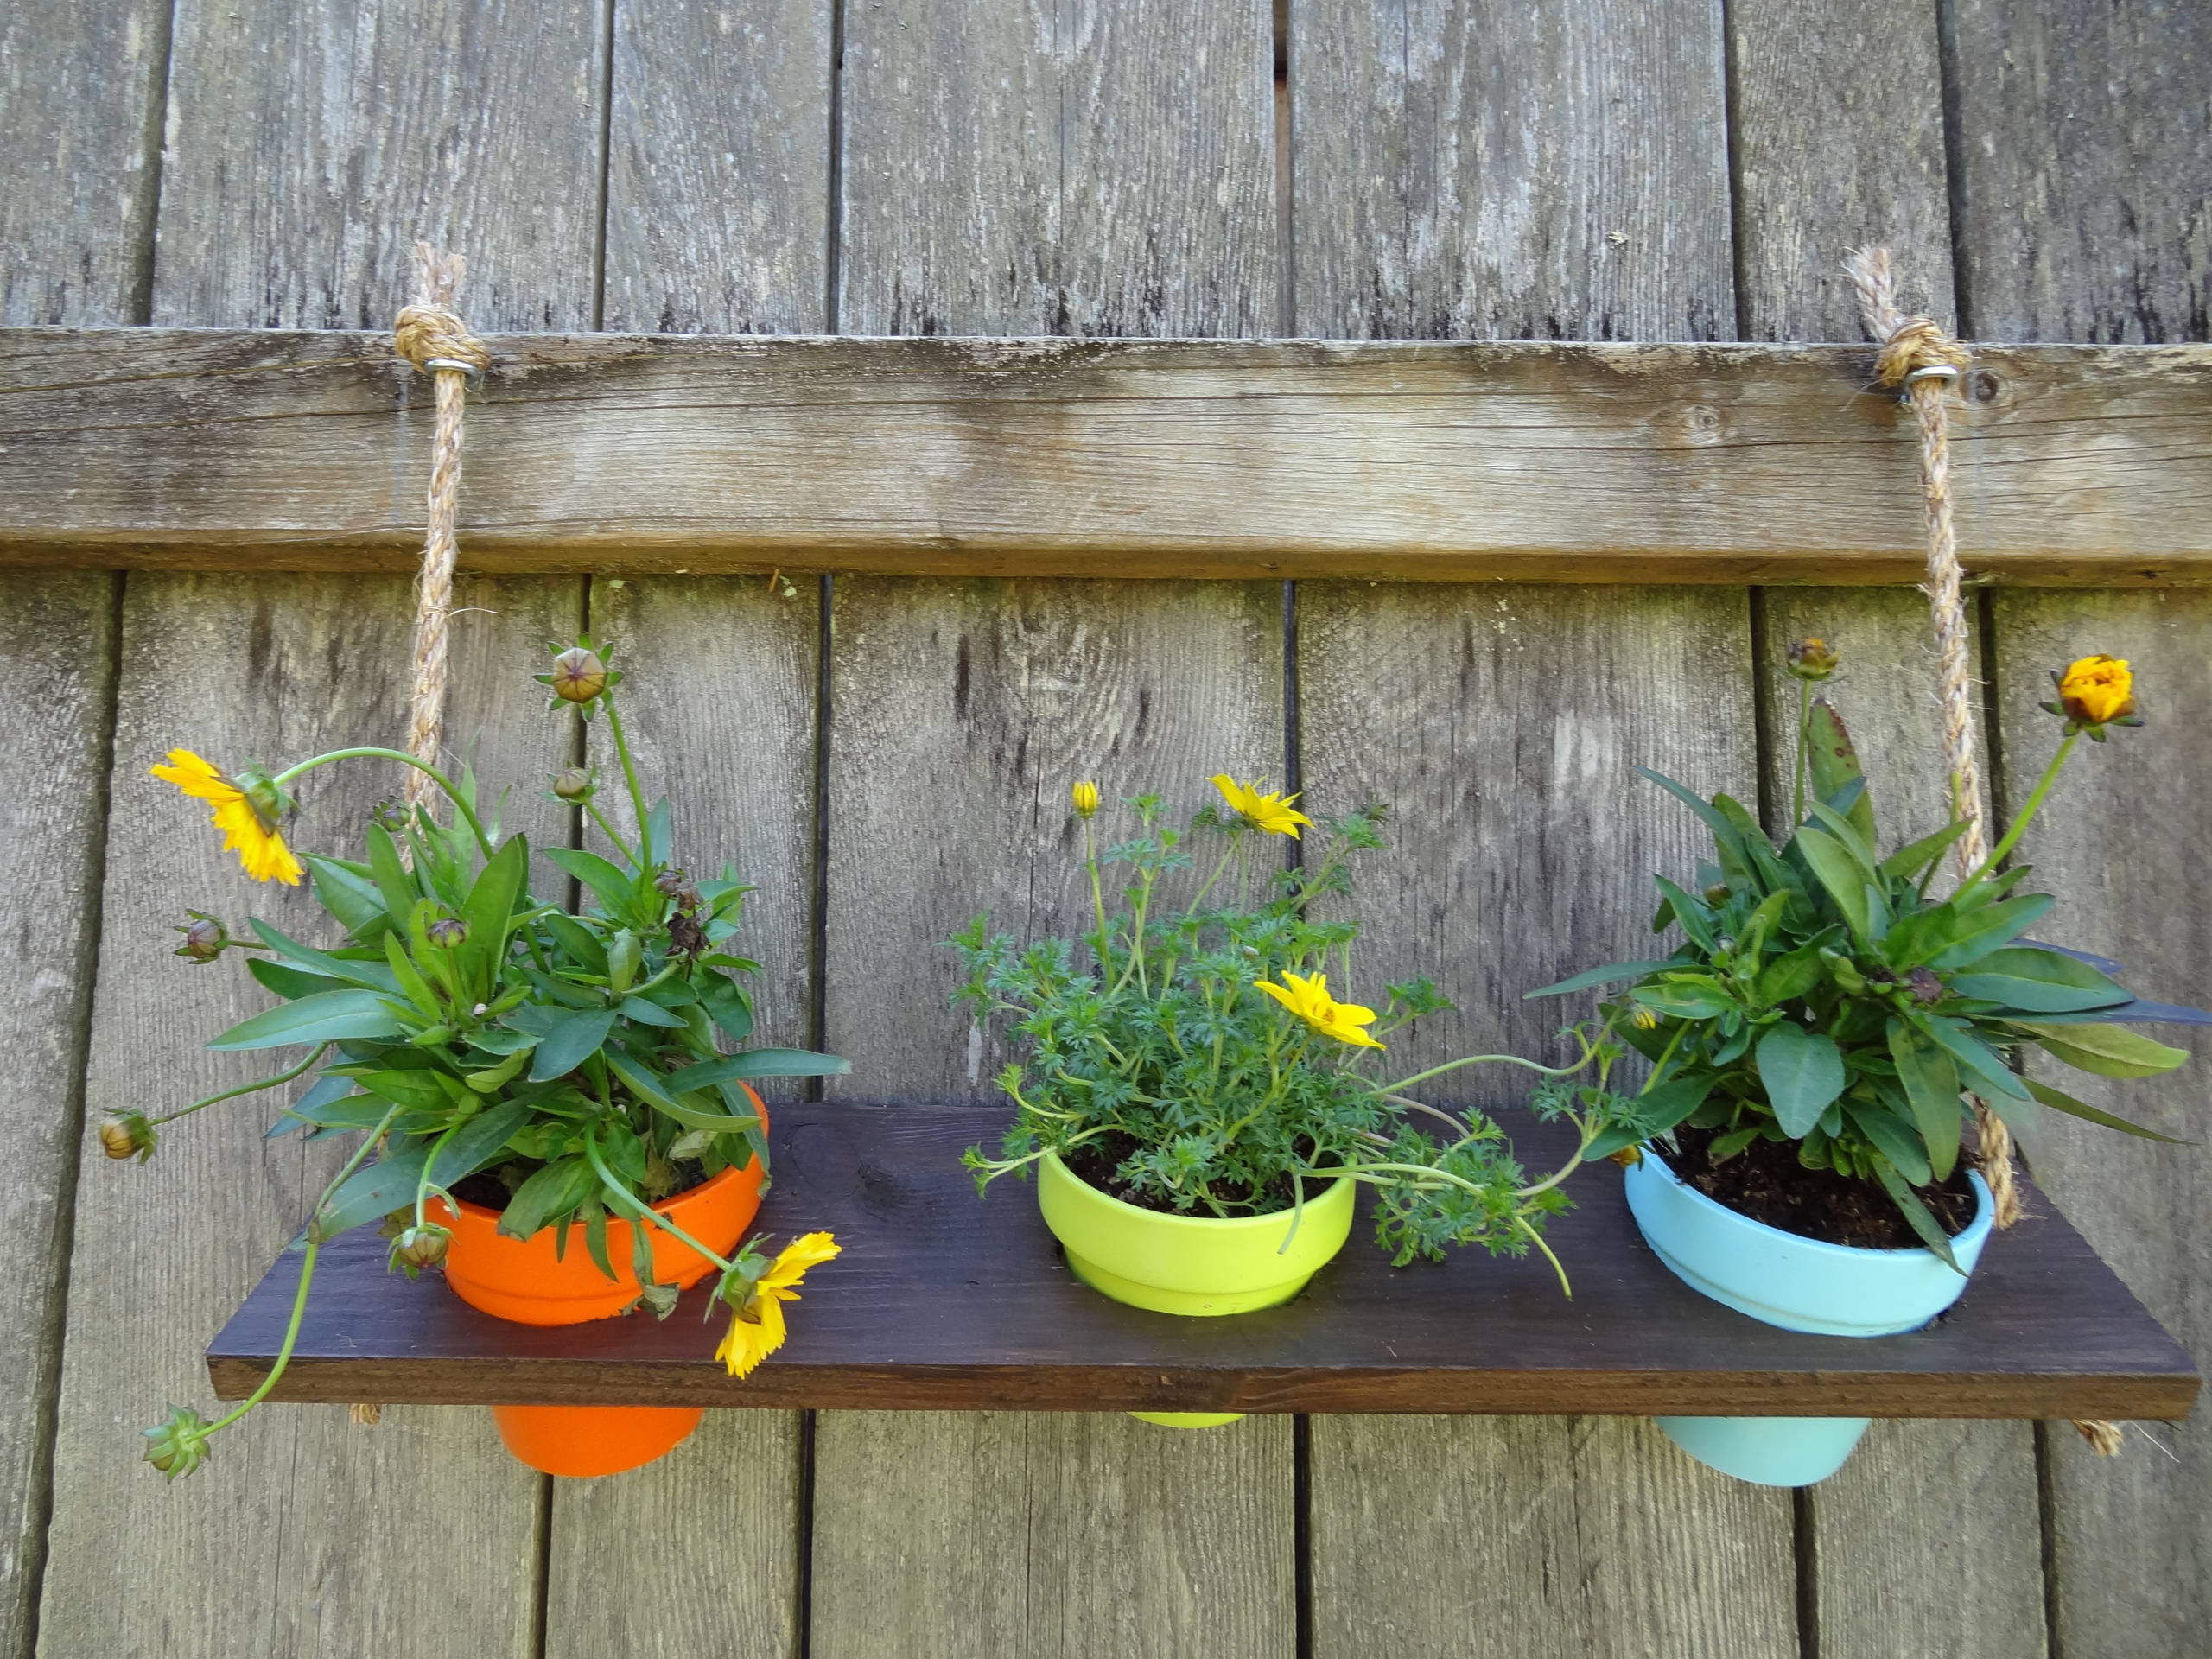
Transfer the plants from their temporary plastic pots to the ceramic pots and place the pots into the holes in each shelf.
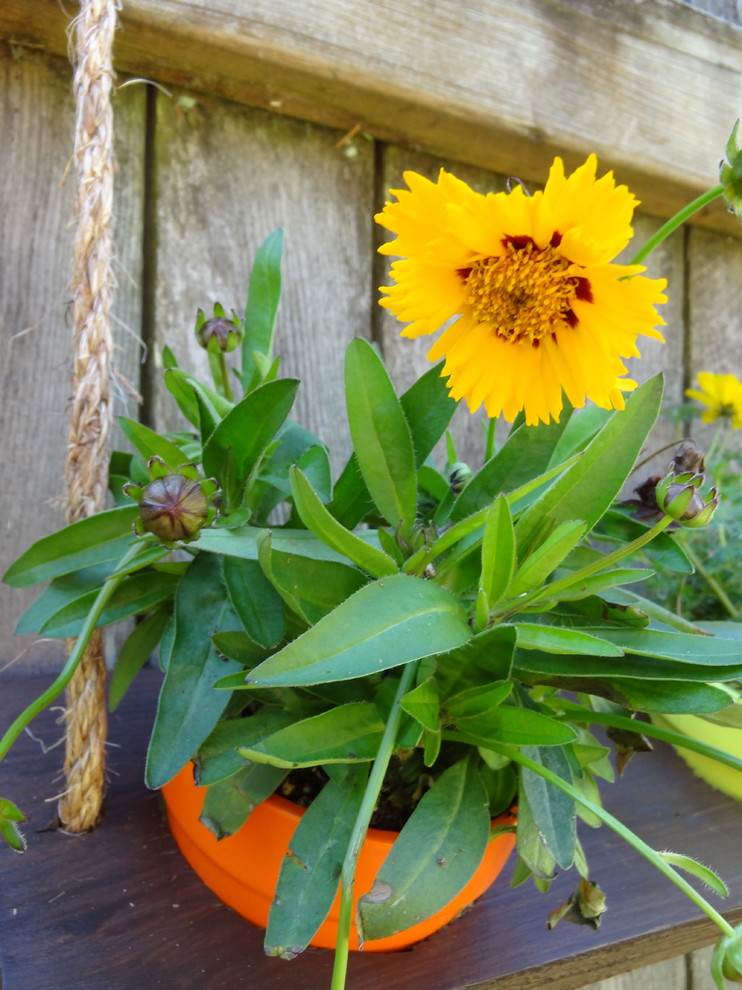
Choose flowering plants in the same hue to complement the colour of the pots. Here, I’ve chosen sunny yellow Tickseed Sunflower and Goldilocks Rocks, but you could use gerberas, daisies or other bright blooms.
Take into account the amount of sunlight or shade your selected area gets and choose plants appropriate for each.
Take into account the amount of sunlight or shade your selected area gets and choose plants appropriate for each.

FINAL TIP: Having difficulty finding colourful pots? Purchase inexpensive clay or ceramic pots and spray paint them like I did. Or stick with neutrals if that works better for your yard.
MORE
Stickybeak of the Week: Vertical Gardens With a Difference
8 Ways to Use Pot Plants to your Advantage
Well-Hung Greenery: 14 Ways to Take Your Plants Off the Ground
MORE
Stickybeak of the Week: Vertical Gardens With a Difference
8 Ways to Use Pot Plants to your Advantage
Well-Hung Greenery: 14 Ways to Take Your Plants Off the Ground

Sponsored