

Easy Halloween Mantel DIYs From Stuff You Already Have at Home
Go spooky or sophisticated with these low-cost DIY mantel decorations made from household items

By upcycling household items with a little paint and glue, you can quickly add some Halloween spirit to your mantel. Experiment with colours beyond the traditional orange and black for a chic alternative look; maybe even go for a monochrome palette. Try your hand at one of these simple projects to spruce up any corner needing some Halloween style.
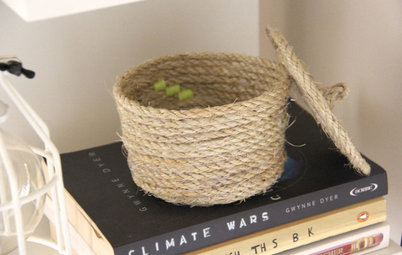
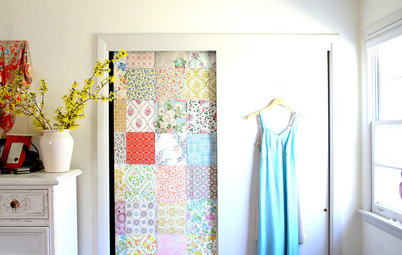
1. Upcycled magazine bookend
Find a stack of old magazines and tape them together. Using a flat paintbrush, paint the sides of the pages with an acrylic shimmery gold. Allow the pages to dry, then add a pattern. I chose a simple chevron-like pattern.
TIP: Make sure to use issues of the same magazine for a consistent, flat surface.
This DIY project can be repurposed later on in another part of your home.
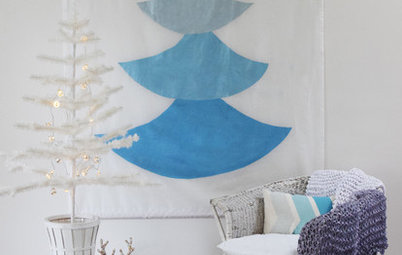
2. Gold scallop garland
Cut 10cm strips of gold duct tape. Line up the tape pieces about 5 centimetres apart, sticky side up, and lay twine down the centre.
Fold the tape over, pressing the sticky sides together evenly, and cut an arch from corner to corner. Then cut out semicircles to create a half-moon banner.
TIP: Trace a circle on a piece of paper, cut it out and fold it over each piece of folded duct tape. Trace the outline with a pen, then cut out the piece.
3. Ghostly white garland
I used a few fallen branches from a backyard tree for this garland, but any similar leaf will work fine. You can also change up this DIY project with a different colour or foliage.
Measure the width of your mantel, including how far you’d like the garland to drop on both sides. Gather branches from outside and wash and dry them.
Cut some wire according to your measurements and begin securing branches to it. After your garland is complete, move your project outside and coat the branches in white spray paint. Once the branches are dry, flip them over and spray the remaining leaves. Repeat until your garland is covered. And of course, you can always use the foliage unpainted.
NOTE: Lock the end of the branch to the wire first for a more natural look and sturdiness. Each item displayed can easily be adjusted to match your home’s colour scheme.
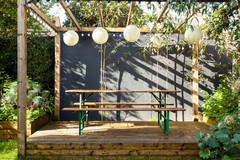
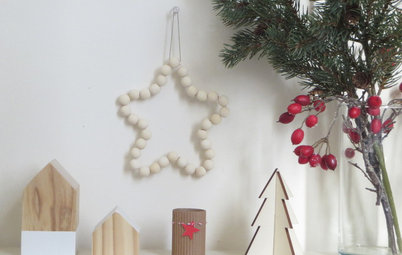
Hang both garlands from your mantel as shown, and add white pumpkins as an accent. I painted the stems gold and stacked the small pumpkins on a cake stand to add height and variety.
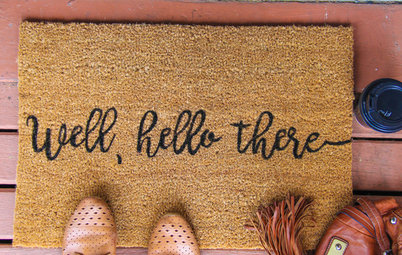
Using some papier-mâché letters from a crafts store, spell out “Boo” or other seasonal phrase, and paint it in your accent colour with a flat bristle brush.
Using some papier-mâché letters from a crafts store, spell out “Boo” or other seasonal phrase, and paint it in your accent colour with a flat bristle brush.
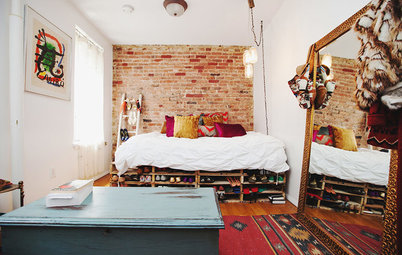
PROJECT 2 (SPOOKY): Bat Garland
A handmade garland of bats crafted from black duct tape, gathered twigs and white accents offers a twist on traditional Halloween colours.
I painted some tin cans with matte black paint, then added some white roses, a big faux spider and some old paperbacks with the spines facing the wall. Sticks gathered from outside and painted black provide something to hang the garland from.
Cheesecloth covers the mantel itself, adding ghostly texture.
MATERIALS CHECK: Duct tape, a ruler, scissors and some twine or ribbon.
How to make the bats
Cut 30cm strips of duct tape and lay them out about 5 centimetres apart. Place a piece of string down the centre of each piece as shown.
Fold each side of the tape in half toward the string, with each end overlapping a little at the string line in the centre.
Cut 30cm strips of duct tape and lay them out about 5 centimetres apart. Place a piece of string down the centre of each piece as shown.
Fold each side of the tape in half toward the string, with each end overlapping a little at the string line in the centre.
There should be no sticky sides remaining now. Fold the sides together and trace the outline of one half of a simple bat design. Cut along the lines through both sides of the tape. Unfold to reveal complete bat shapes.
Continue the process until you reach the desired length. Then hang the garland from your mantel or banister.
Continue the process until you reach the desired length. Then hang the garland from your mantel or banister.
Variation: Ghost Garland
Use the same idea to make a ghost garland. Cut 15cm strips of white duct tape and lay them down about 7 centimetres apart. Add string to the centre and fold the tape down to stick both sides together.
Cut slightly into the rectangle near the rope, adding a curved detail to the top. Cut waves at the bottom and add eyes with a black permanent marker. You’re done!
YOUR TURN
How are you decorating your mantel for Halloween? Share your spooky snaps with us in the comments section.
How are you decorating your mantel for Halloween? Share your spooky snaps with us in the comments section.


Try going with an untraditional colour scheme like metallic gold and white for a fresh Halloween display. This look has three parts.