


Fresh Face: 5 Steps to Paint Interior Bricks Like a Pro
If painting's the way you've chosen to go, these tips will ensure you give bricks a lasting and lovely finish
Lisa Frederick
27 June 2014
Houzz Contributor. After journalism school, I fell into decorating media and immediately discovered a new passion. An Atlanta native, I spent several years as an editor for Atlanta Homes & Lifestyles magazine before making the leap to national publications and websites such as Houzz, Better Homes and Gardens and Southern Accents. I live in Birmingham, Alabama, with my husband and son, who’ve gotten used to coming home and finding the furniture rearranged. When I'm not dragging case goods across the floor, I enjoy good food and wine, college football, music of all kinds, and traveling.
Houzz Contributor. After journalism school, I fell into decorating media and immediately... More
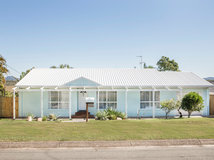
Although the thought of painting a brick wall makes some people blanch in horror, there are times when it makes sense. So let’s assume you’ve done your homework, weighed up the pros and cons, listened to a barrage of opinions and decided to forge ahead. What’s next? Follow these steps for wielding the paint roller to give a brick surface new life.
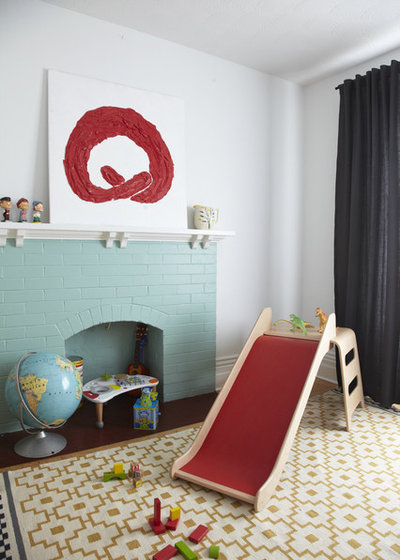
STEP 1: Inspect your mortar
Is it crumbling or otherwise deteriorating, or are there gaps that need to be fixed? If so, address those before you even think about shuffling through paint chips. You can probably seal minor holes yourself with spackle or caulk, but major damage means a call to your local mason.
STEP 2: Scrub, scrub and scrub some more
Paint never adheres perfectly to a dirty surface (and plus, you risk sealing in the odd cobweb, dead bug or piece of lint). Use a stiff-bristled brush and a little dish soap diluted in water to clean the brick thoroughly, then wipe it down with a dry cloth. Let the bricks dry completely before you start painting.
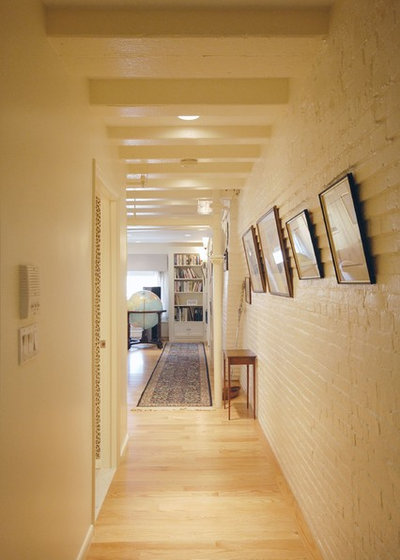
STEP 3: Select the appropriate tools
Brick is heavily textured, so you’ll need painting supplies that can handle its pits and crevices. Choose rollers with a long nap and press hard as you roll to push the paint into tiny holes, or use a sprayer for the most even results.
You’ll probably want a brush to take care of mortar lines and cut in around doorways or windows. Because of brick’s rough edges, cutting in isn’t as easy as it is on a smooth surface, so use a narrow brush that you can manipulate around bumps and crags.
STEP 4: Prime it right
Use a primer that’s designed for masonry and apply it according to the manufacturer’s instructions. (You’ll almost always need more than one coat.) Let it dry completely between coats.
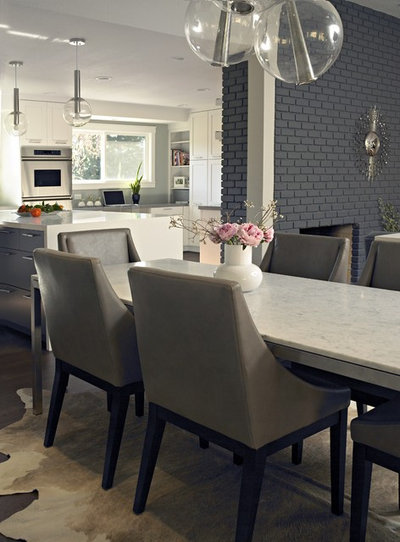
STEP 5: Pick your finish
Brick often looks best painted in a slightly glossy finish, which highlights its detail better than a matte one and makes it easier to wipe clean. Use a 100 per cent acrylic paint and roll or spray on one to two coats of your chosen colour. Happy painting!
MORE
Why DIY Is Good for Your Soul Not Just Your Home
To Paint or Not to Paint: Exposed Brick Interiors
Brush Up on Paint: Know Your Matts From Your Glosses


Related Stories

Christmas
DIY: Three Blooming Amazing Christmas Flower Arrangements
Florist Jodie McGregor shows us how to make a vase arrangement, coffee table display and a wreath for Christmas
Full Story
DIY
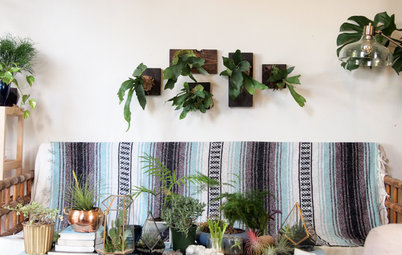
DIY Display for Staghorn Ferns
By Kayla Stark
Get a step-by-step guide to turning a shade-loving staghorn fern into a piece of living wall art
Full Story
DIY Projects
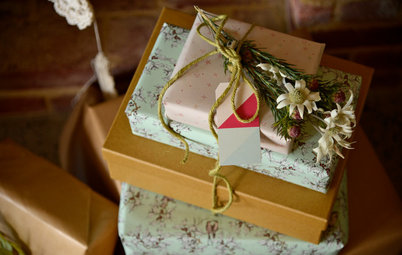
How to Make Thoughtful Homeware Gifts for Those You Love
A personal, bespoke gift brings the joy back into giving and leaves minimal environmental footprint
Full Story

DIY Projects
DIY Project: Natural Lavender and Rosemary Moisturiser
Ditch the chemicals and make your own rich moisturiser out of natural ingredients
Full Story
Bathrooms
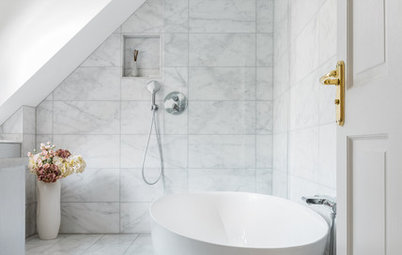
7 Good-Looking Ways to Arrange Stacked Tiles
Wondering which layout to use for your tiles? Check out these straight or stack-bond patterns for inspiration
Full Story
DIY
DIY Project: Garden Chair Makeover
Give dated and weathered garden chairs a contemporary upgrade this long weekend with these easy tips from a DIY expert
Full Story
DIY Projects
DIY Project: Rattan Cabinet Makeover
Here's how to revamp that classic piece of Australian furniture, the rattan cabinet
Full Story
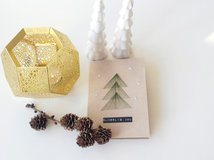
DIY
DIY Project: String Art Christmas Cards
Cardboard, a needle and thread is all it takes to make gorgeous Christmas tree cards with a personal touch
Full Story
Renovating
Bring on the Bling... With Specialty Paint Finishes
From liquid gold to instant rust and concrete effect, the latest paint effects add easy character to your home
Full Story
DIY Projects
DIY Sewing Project: A Cute Peekaboo Toy Bag
By Jade Rennie
For the ultimate in toy storage, have a go at making these peek-a-boo bags
Full Story
Another option that is easy to use and more durable is mineral based paints for brick. Check out romabio.com/masonry to learn more.