


Outdoor Fix-Ups: Updating a Tired Old Fence
Whether your fence has a loose paling or peeling paint, these makeover ideas will help you fix a tired wooden boundary in just one weekend
Kerryn Ramsey
7 May 2016
Houzz Australia Contributor. Freelance lifestyle journalist and serial renovator, reporting for print and digital articles on architecture, design, travel and business.
Houzz Australia Contributor. Freelance lifestyle journalist and serial renovator,... More
All too often, beautiful houses are surrounded by neglected and sad-looking wooden fences. It’s like displaying the Mona Lisa in a plywood frame! In just one weekend you can fix, restore and finish your fence to a standard that will make it the envy of the street – or at least elicit a neighbourly bravo that you finally got around to repairing it. Depending on your fence style, choose from the these brilliant makeover ideas for one that suits you.
Before you start…
Information is power. Take the time to walk the perimeter of your property and inspect the fence. Missing palings? An unusual lean? Peeling paint? Look at your fence with cold eyes. Does it suit the style of your house? Is the colour palette dated?
Older fences are usually repaired and have had sections replaced over time, but does your fence still have a continuity of style and colour? Note everything that needs fixing and ascertain what you can do yourself and what problems may require professional help.
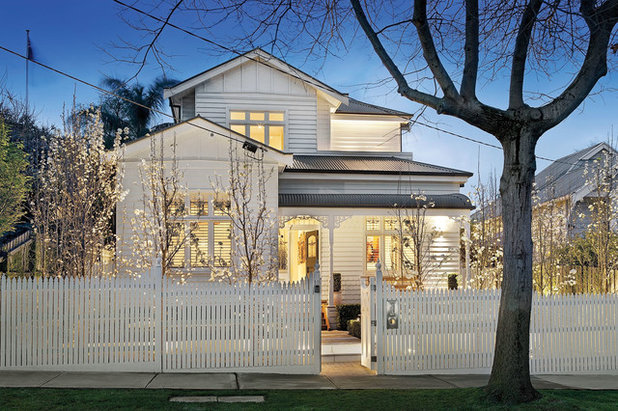
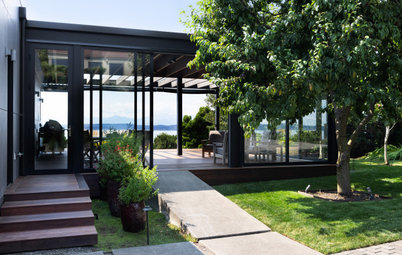
Bring a front fence back to life
Information is power. Take the time to walk the perimeter of your property and inspect the fence. Missing palings? An unusual lean? Peeling paint? Look at your fence with cold eyes. Does it suit the style of your house? Is the colour palette dated?
Older fences are usually repaired and have had sections replaced over time, but does your fence still have a continuity of style and colour? Note everything that needs fixing and ascertain what you can do yourself and what problems may require professional help.
Bring a front fence back to life
Replace missing or broken palings
WHAT YOU’LL NEED: A crowbar, claw hammer, tape measure and galvanised nails.
HOW TO: This is a fairly easy job that will vastly improve the look of your fence. Use a crowbar to remove the old paling and a claw hammer to remove the nails. Fence palings can be purchased at any large hardware store and can be cut to size. Simply take in an old paling as a guide or use a tape measure to record the dimensions accurately.
Hold the paling in place with your knee and hammer one nail into the top rail. Make sure everything is straight and evenly spaced and then hammer a nail into the lower rail. Place a second nail in each rail and you’re done!
AVERAGE TIME: Once the palings are cut to size, it will take about 5 minutes per paling.
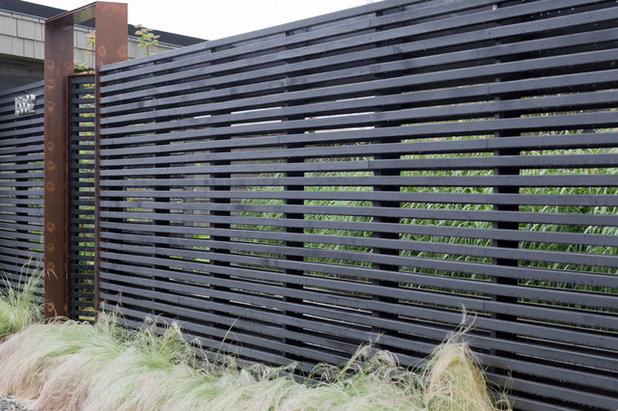
Paint with a suitable new colour
WHAT YOU’LL NEED: A paint scraper, sandpaper, drop sheet, paint, a paintbrush and/or roller.
HOW TO: A new paint job will revitalise your fence and make your whole house look better too. Start by scraping off any flaky paint and then sand the entire fence. Wipe off any residue with a damp rag and allow the fence to completely dry. Choose an outdoor paint and a colour that suits your residence.
Don’t paint on a day that’s blazing hot or threatening rain. A calm, dry day with a light breeze is perfect. Place your drop sheet into position and paint using long even strokes. If your fence is very large, you might consider a spray gun or roller. If you are painting untreated timber or covering an old paint job, be prepared – your fence will probably need two coats.
AVERAGE TIME: This can be a time-consuming job depending on the size of the fence and the number of coats. Starting early on a Saturday is a good idea and keep going until the job is finished.
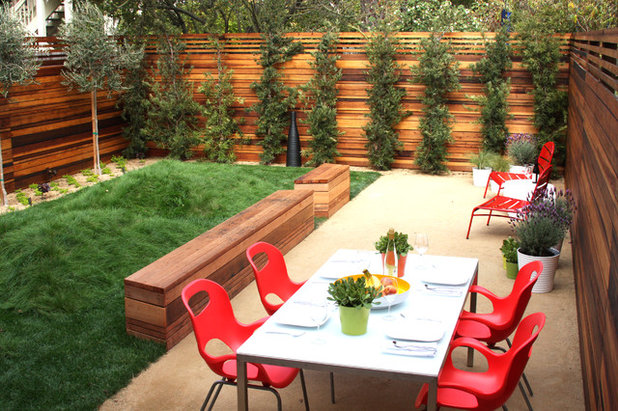
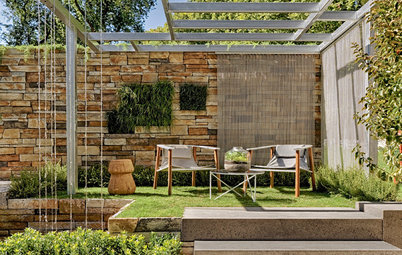
Add lattice fence toppers for privacy
WHAT YOU’LL NEED: A screwdriver, galvanised screws, level, stepladder, and a friend.
HOW TO: This option has become much easier with new fence extension products now available. They come in standard sizes to suit most fences and consist of framed lattice with extended timber supports designed to be attached to the vertical posts of your timber fence.
This is a two-person job, with one person holding the lattice topper level while the other screws it to the fence posts. As the height of your fence will increase, make sure to discuss this addition with your neighbour before proceeding.
AVERAGE TIME: No more than 20 minutes for each section.
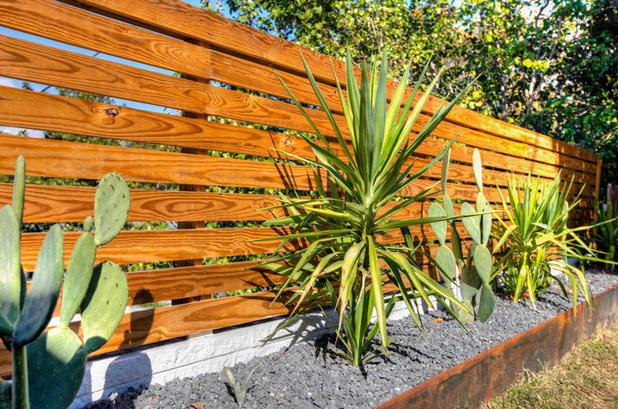
Oil the timber palings
WHAT YOU’LL NEED: Fence oil, paint trays, paintbrush/oil pad, sandpaper, stiff bristled brush, and a gurney gun.
HOW TO: An alternative to painting a wooden fence is to oil it; the techniques are similar, but the results are very different. Oiling protects and nourishes the timber, while also deepening the hue slightly to anything from a light, golden honey to a rich, earthy brown.
Start by cleaning the fence using a stiff brush and soapy water, and follow with a blast from a gurney gun. When the fence is dry, use sandpaper to achieve a nice smooth finish. Wipe away any debris with a damp rag and allow to dry. Place the fencing oil in a paint tray and use a paintbrush or specialised pad to apply the oil. The first coat will take the longest as the timber will soak up the oil quickly. Let the oil dry and apply further coats if required.
AVERAGE TIME: Sanding and surface preparation will take approximately three times as long as applying the oil. Allow four hours for a medium-sized fence.
What’s the right fence for your backyard
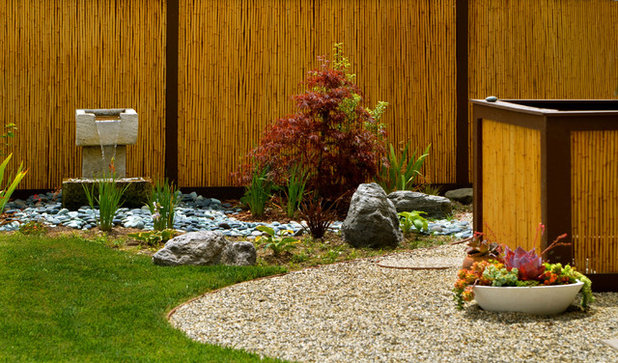
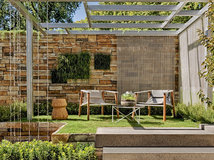
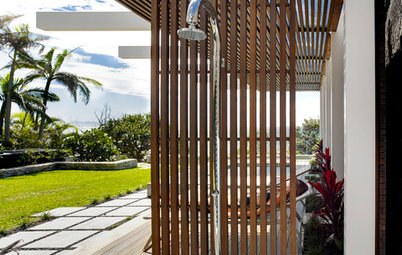
Erect a bamboo screen
WHAT YOU’LL NEED: A length of timber, drill, galvanised screws, screwdriver, and a friend.
HOW TO: If your fence is old, stained or just plain ugly, a bamboo screen can hide myriad sins. There are a number of styles of screens available and they are very easy to attach to a wooden fence.
Place a length of timber along the bottom of your fence and stand the bamboo screen on it. Keeping the screen raised from the ground will stop moisture damage once it is attached. When the bamboo screen is at the desired height, drill a hole through the centre of a bamboo pole on one end of the screen. Use a galvanised screw to attach the screen to the horizontal rail of your fence.
Attach the other end of the screen in the same manner. Work your way along the top horizontal rail, attaching the screen with a screw every 30 centimetres. Repeat the process along the bottom rail of the fence.
AVERAGE TIME: A screen that is 2,400 millimetres wide should take no more than 45 minutes to attach.
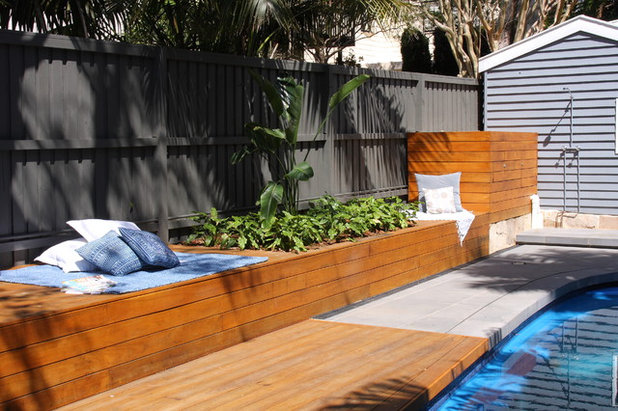
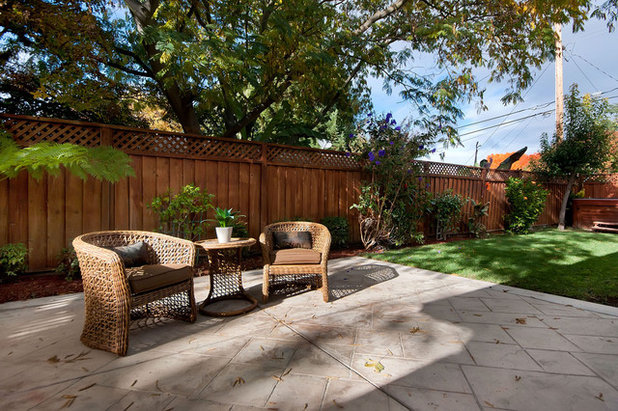
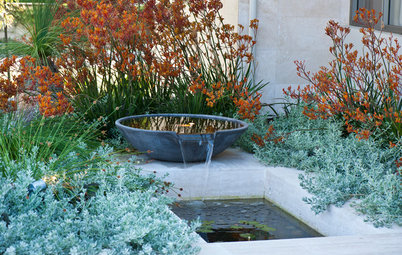
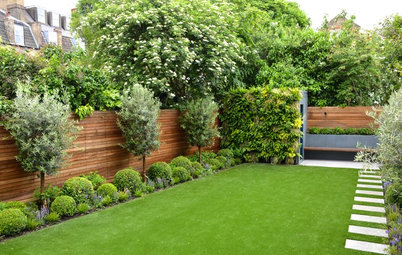
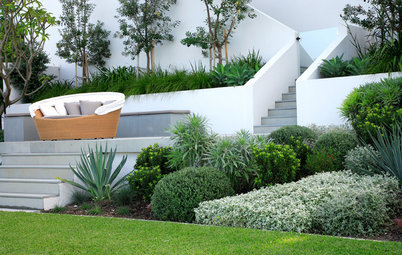
Plant along the fence line
WHAT YOU’LL NEED: A shovel, plants, fertiliser, soil, and a trowel.
HOW TO: A bare fence can look very stark and hard edged. Planting along your fence line will soften the appearance, make the garden look more natural and will probably increase privacy. Discuss plant options at your local nursery, taking into account the maximum size of the plants, their life span, water requirements, colour and leaf drop.
There is no magic formula for planting along a fence line: different species require a certain distance from neighbouring plants and a certain distance from the fence. Once again, utilise the knowledge of your local nursery and write down the planting requirements so there is no confusion. Whatever you decide to plant, always finish the job with a thorough hosing.
AVERAGE TIME: 15-20 minutes per plant.
Privacy plants to block out neighbours
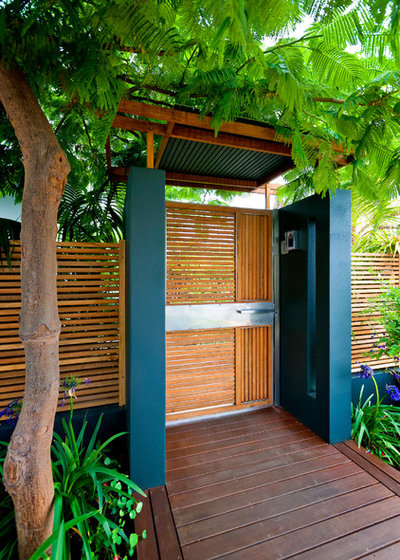
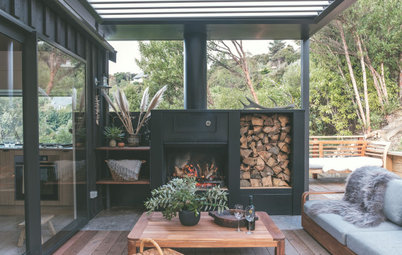
Don’t forget to see to the gate
WHAT YOU’LL NEED: Your chosen gate, galvanised screws, screwdriver, wooden blocks, drill, level, and a friend.
HOW TO: Now that your fence looks great, don’t spoil the effect with a rusty old gate. There’s a smorgasbord of gate styles available, and the look should reflect the personality of your house. If you live in a modern dwelling, for example, people should not enter the property through an ornate wrought-iron gate.
First, confirm the size of the opening and buy a gate that will fill the space. Elevate the gate on wooden blocks and ensure the gate is straight using a level. Use galvanised screws to attach the gate hinges to the support pole, checking that everything is level before tightening the screws. Having a friend to support the gate while you work will make the whole process much simpler!
AVERAGE TIME: About an hour.
TELL US
Have you recently updated a fence? Upload a photo of your handiwork in the Comments section below.
MORE
Finding the Right Fence for Your Home
6 Practical Fencing Ideas You Haven’t Thought of Yet
More fence photos


Related Stories
How Do I...
How Do I... Set Up an Outdoor Shower?
An outdoor shower is not only practical, but a pleasure to use – read on for tips about creating the perfect design
Full Story
Outdoors
Summer Lovin': Declutter Your Outdoors in Time for Party Season
By Amy Revell
It's time to prepare your backyard and garden for a great summer of parties, relaxing and family fun
Full Story

Outdoor Areas
12 Great Ideas for Outdoors From Best of Houzz Award Winners
By Houzz AU
Parquet-style flooring, hammock-inspired nets and creative planting pockets: these outdoor spaces have us hooked!
Full Story
Picture Perfect
30 Tranquil Water Features to Soak Up
Our coffee-break escape offers you five minutes' worth of images to inspire and delight. Jump right in...
Full Story

Outdoor Projects
How to Clean Outdoor Furniture and Soft Furnishings
Wondering how to clean different types of outdoor furniture, cushions, rugs and umbrellas? Read on for all the answers
Full Story
Picture Perfect
20 Subtle and Sophisticated Designs for Garden Sheds
Our coffee-break escape offers you five minutes' worth of images to inspire and delight. Jump right in...
Full Story
Balconies
10 Beautiful Balconies and Terraces From Around the World
By Houzz AU
Get inspired by some of last year's most enviable balconies, decks and patios for cosy winters or summer daydreams
Full Story

Outdoor Areas
Winning Balcony Gardens: Small Spaces, Big Impact
Be inspired by these two award-winning balcony gardens from the 2022 Melbourne International Flower and Garden Show
Full Story
Houzz Around The World
USA Before & After: A Covered Deck Becomes a Glassed-In Retreat
By Becky Harris
A building designer blocks wind gusts with a sleek new design to extend porch time for these Seattle homeowners
Full Story
Most Popular
12 Ways to Design a Low-Maintenance Garden
See 12 ways to design and plan your garden to spend less time working on it and more time enjoying it
Full Story
I really like simple solutions as fence toppers
are. You are able
to maintain privacy whilst displaying a decorative layer on the top.
A topper is a designed piece that slots directly onto the top of your fence. It doesn’t matter what type of fence
that you’ve decided to move forward with, they are universal. Also, you can just
take your fence topper with you to the next home when you are moving. Read more