DIY: The Secret to Hanging a Plate Collection
Save your walls! Here's how to get your art grouping right

Hanging a group of plates is pretty easy if you have the right tools and a helper. When you do it yourself, getting the spacing right can become a finger-whacking, wall-scarring spackle fest. It does not have to be this way. Read on for the secret to creating the perfect arrangement — of plates or any other wall art — from Mandi Smith T, co-owner of Interior Staging Services in Birmingham, AL.
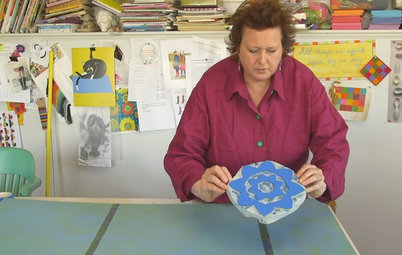
“These plates were my Mom’s first china pattern when she and my Dad were married 46 years ago,” Mandi says. When their house was struck by lighting and burned, the plates were no longer usable (up close they are cracked throughout and stained in spots), so she made art out of them. After attaching each plate to a regular spring-loaded plate hanger, “I hung this series by myself on a Sunday afternoon.”
Anyone who's hung a grouping on a wall has at least one tale of misaligned art work, bruised fingers and banged-up walls. It doesn't help, Mandi notes, that many groupings include artwork with different hanging mechanisms on the back, different wire lengths, or side latches and no wire — all of which can effect the height of a piece, making it a chore to get the placement right.
Next, the 5-step solution.
Next, the 5-step solution.
1. Grab some leftover newspaper and trace each plate or framed piece onto the paper and cut them out. Use your paper cutouts to figure out the proper layout of the series. Experiment with your grouping on the floor to work out the arrangement you like best.
3. Once you are completely satisfied with the placement on the wall, you can begin hanging the plates. “I use this tool to get the exact placement of the nail,” Mandi says. “I got it for Christmas one year, and now I simply cannot live without it!” The product is called Hang and Level. “You simply hang your plate (or other artwork) on the hook at the bottom of the tool and hold it up to the wall on top of your paper cutout.”
4. “When it is completely lined up with the cutout, gently push on the picture/plate and the tool makes a small impression on the wall indicating where to place the nail. It truly is a snap!”
4. “When it is completely lined up with the cutout, gently push on the picture/plate and the tool makes a small impression on the wall indicating where to place the nail. It truly is a snap!”
5. Once all the nails are in place, you can remove the paper cutouts and place the plates on on their nails. Ta da!
Highlight your wall display with illuminating spot lights
Highlight your wall display with illuminating spot lights
One more tip from Mandi: "I didn't know about this product when I hung my plates, but discovered it later and have used it for many projects since. I love that it allows the plate to sit closer to the wall for a cleaner look." See her original tutorial here.
Does Mandi's wall inspire to create your own wall installation? Some more ideas to get you started:
Does Mandi's wall inspire to create your own wall installation? Some more ideas to get you started:
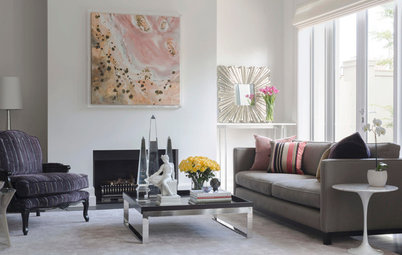
A large platter anchors a collection of cream and ivory pieces.
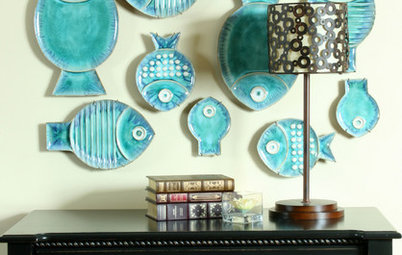
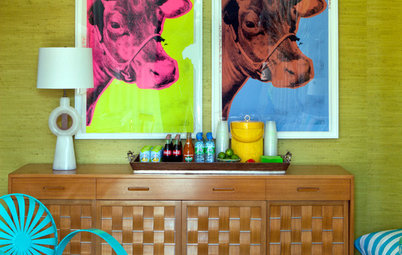
A carefree, asymmetrical arrangement animates this colorful collection.
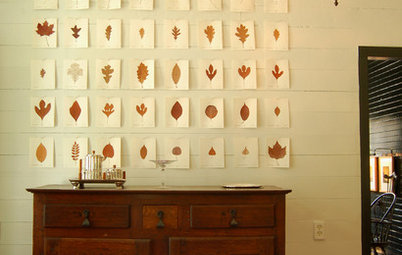
A group of white plates gathered in the middle looks like an exuberant extension of the bouquet on the table.
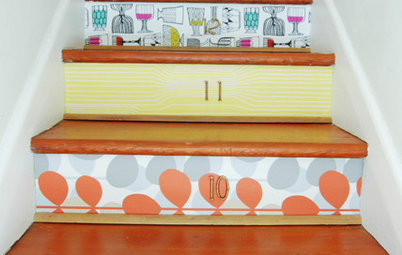
A trio of mismatched plates is the perfect size and shape for this corner by the stairs.
Balance the varying weights of large and small plates by placing larger platters at the center and bottom.
Take a cue from your plates to come up with a shape for your grouping. Here, four oblong platters form a larger oblong shape that nicely spans the width of a fireplace.
What are your plate-hanging tricks?
Next: Browse more home design photos
What are your plate-hanging tricks?
Next: Browse more home design photos

Sponsored